

Photography is, in essence, the manipulation of light, but I realized after taking photos for almost two years that I didn't have the strongest grasp of how light works. All the lighting in my photos is quite incidental. What I mean by this is that my photos often just so happened to have good lighting in it - I didn't plan to take the photo in that lighting, nor did I construct the lighting to be the way it is.
Starting after the second half of 2019, I tried to be more intentional about the lighting and planned photography outings around the weather and time to get the type of lighting I wanted. At the same time, I tried to experiment with constructing my own lighting using simple lights at home (ie, lamps, phones). I've set up a simple studio in my garage. Throughout this process, I think my photography has improved as I've become more intentional with lighting.
Lighting is really not that complicated to start out, but there's tremendous depth. In this post, I want to help you get started with lighting using a few simple tips and encourage you to be more intentional with lighting. I believe it'll greatly improve your photography, whether it's just shooting out in natural light or trying to construct your own lighting.
The single most important variable is the size of the light
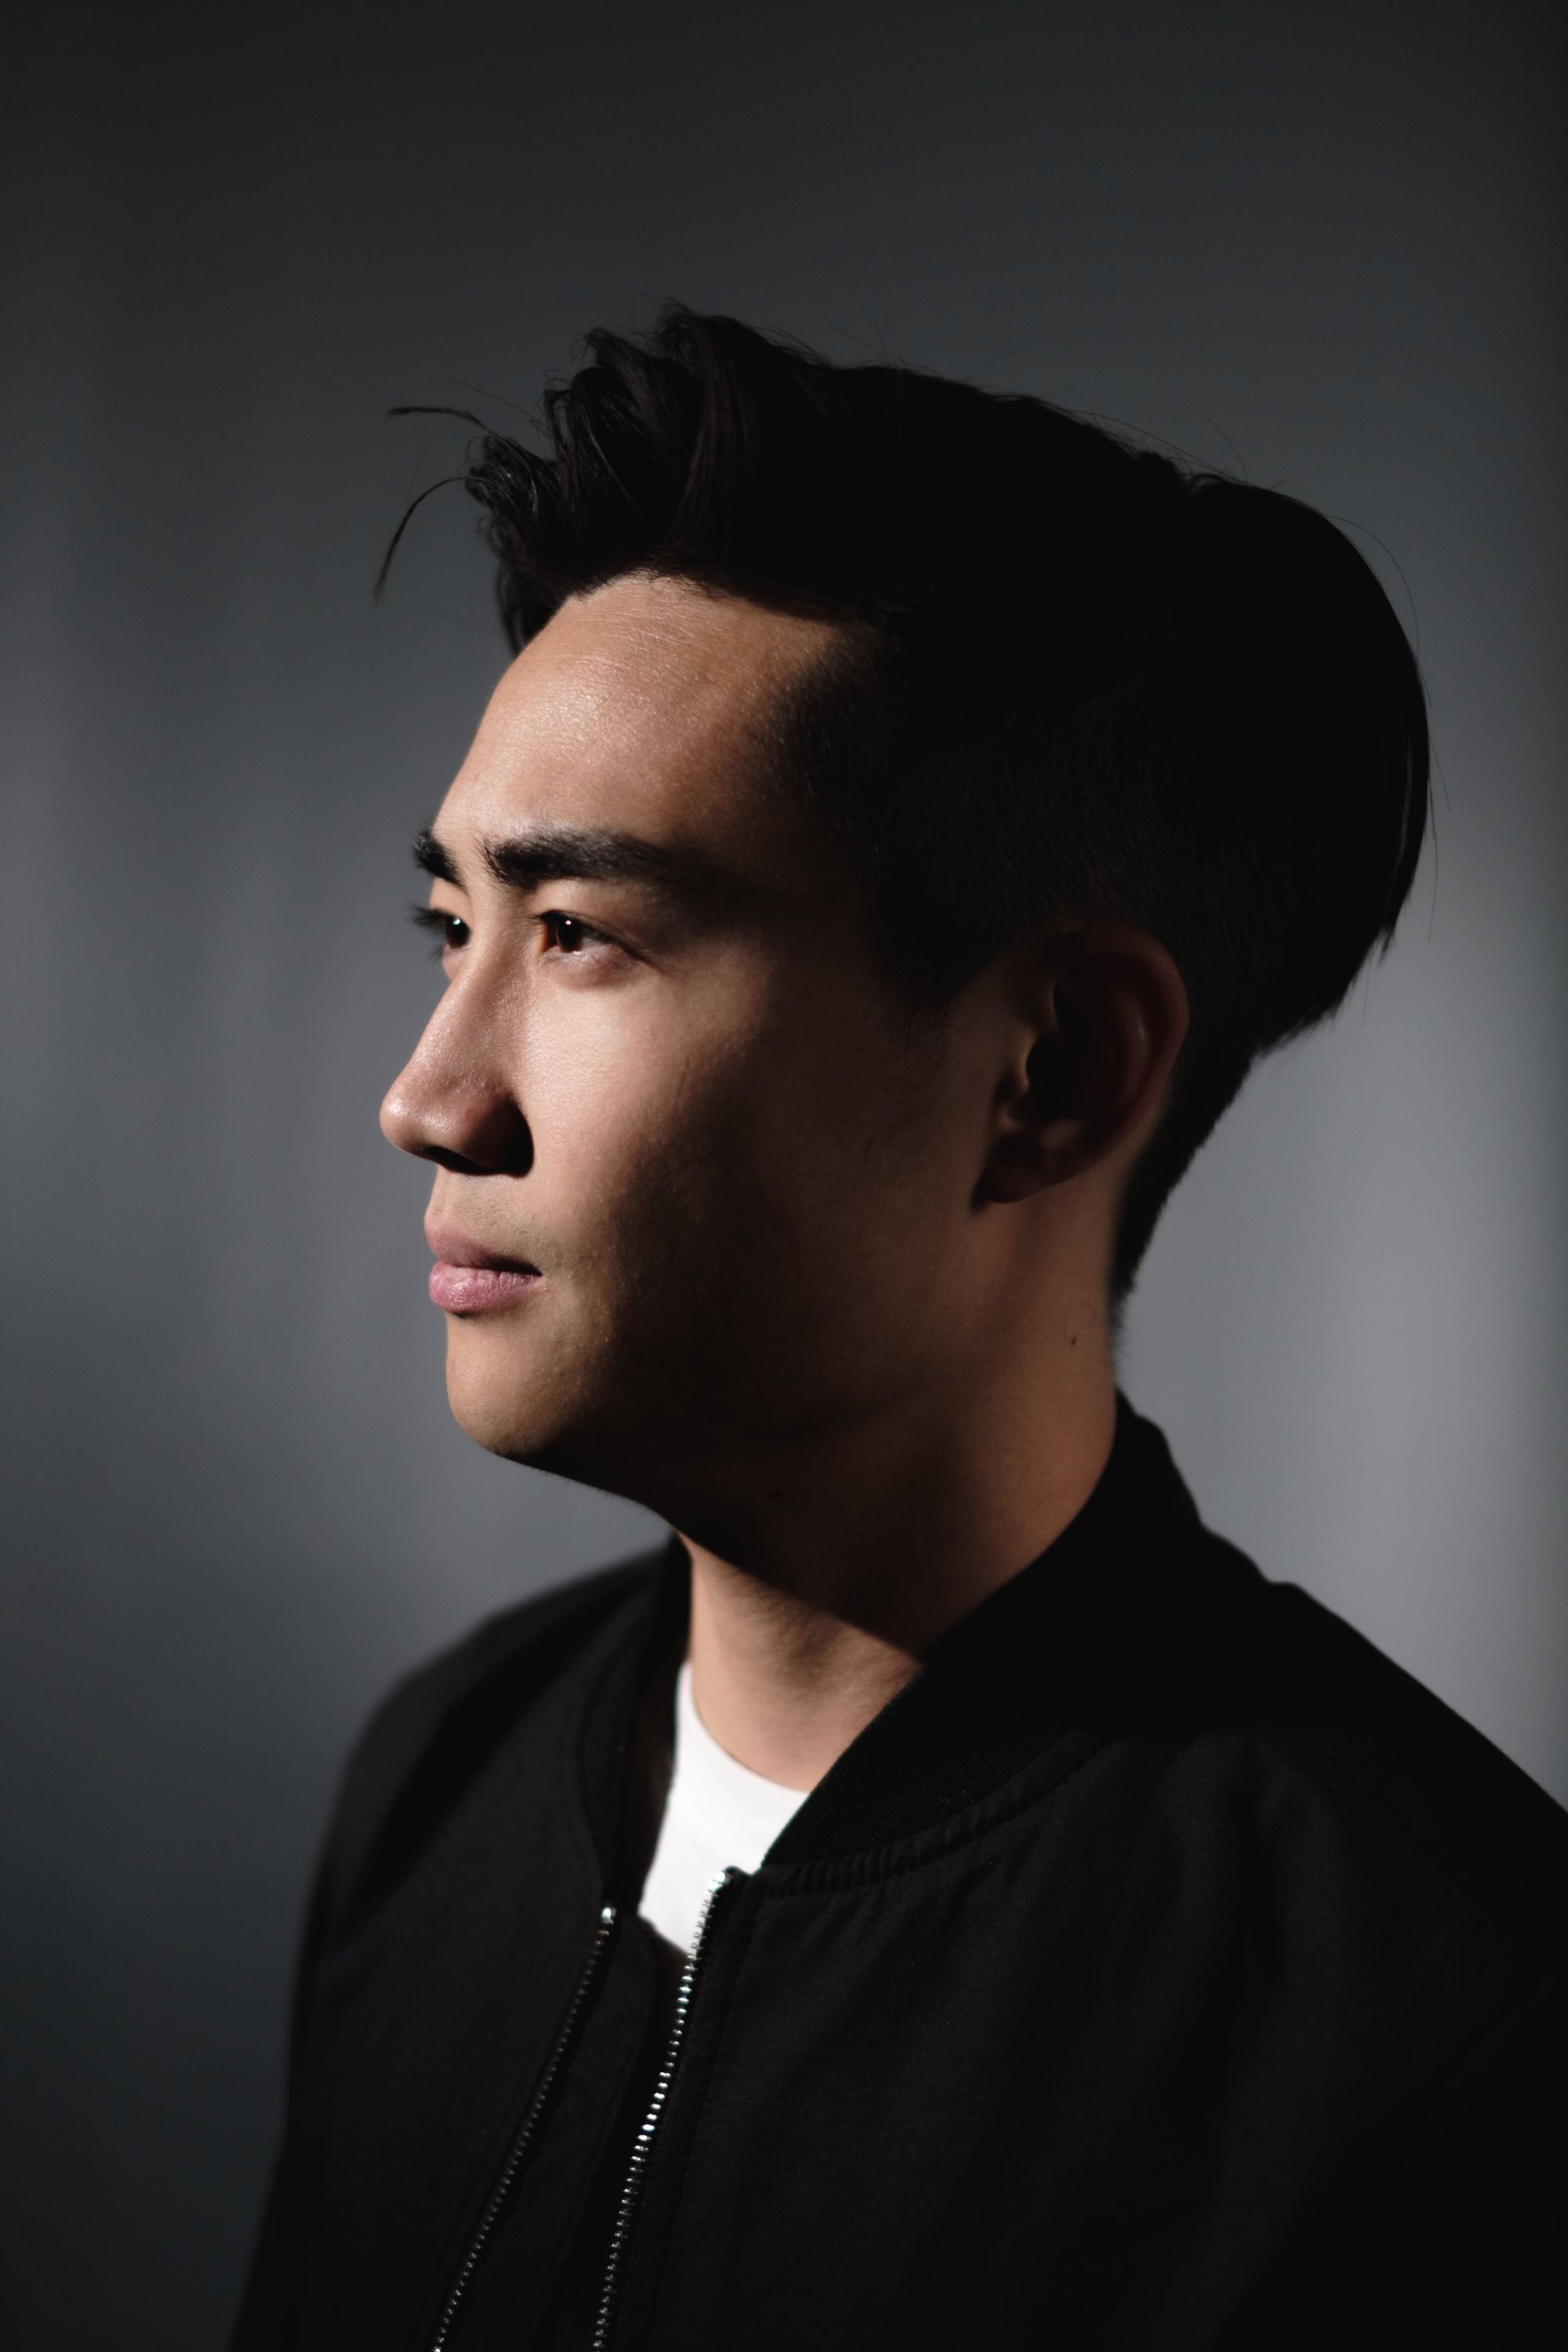
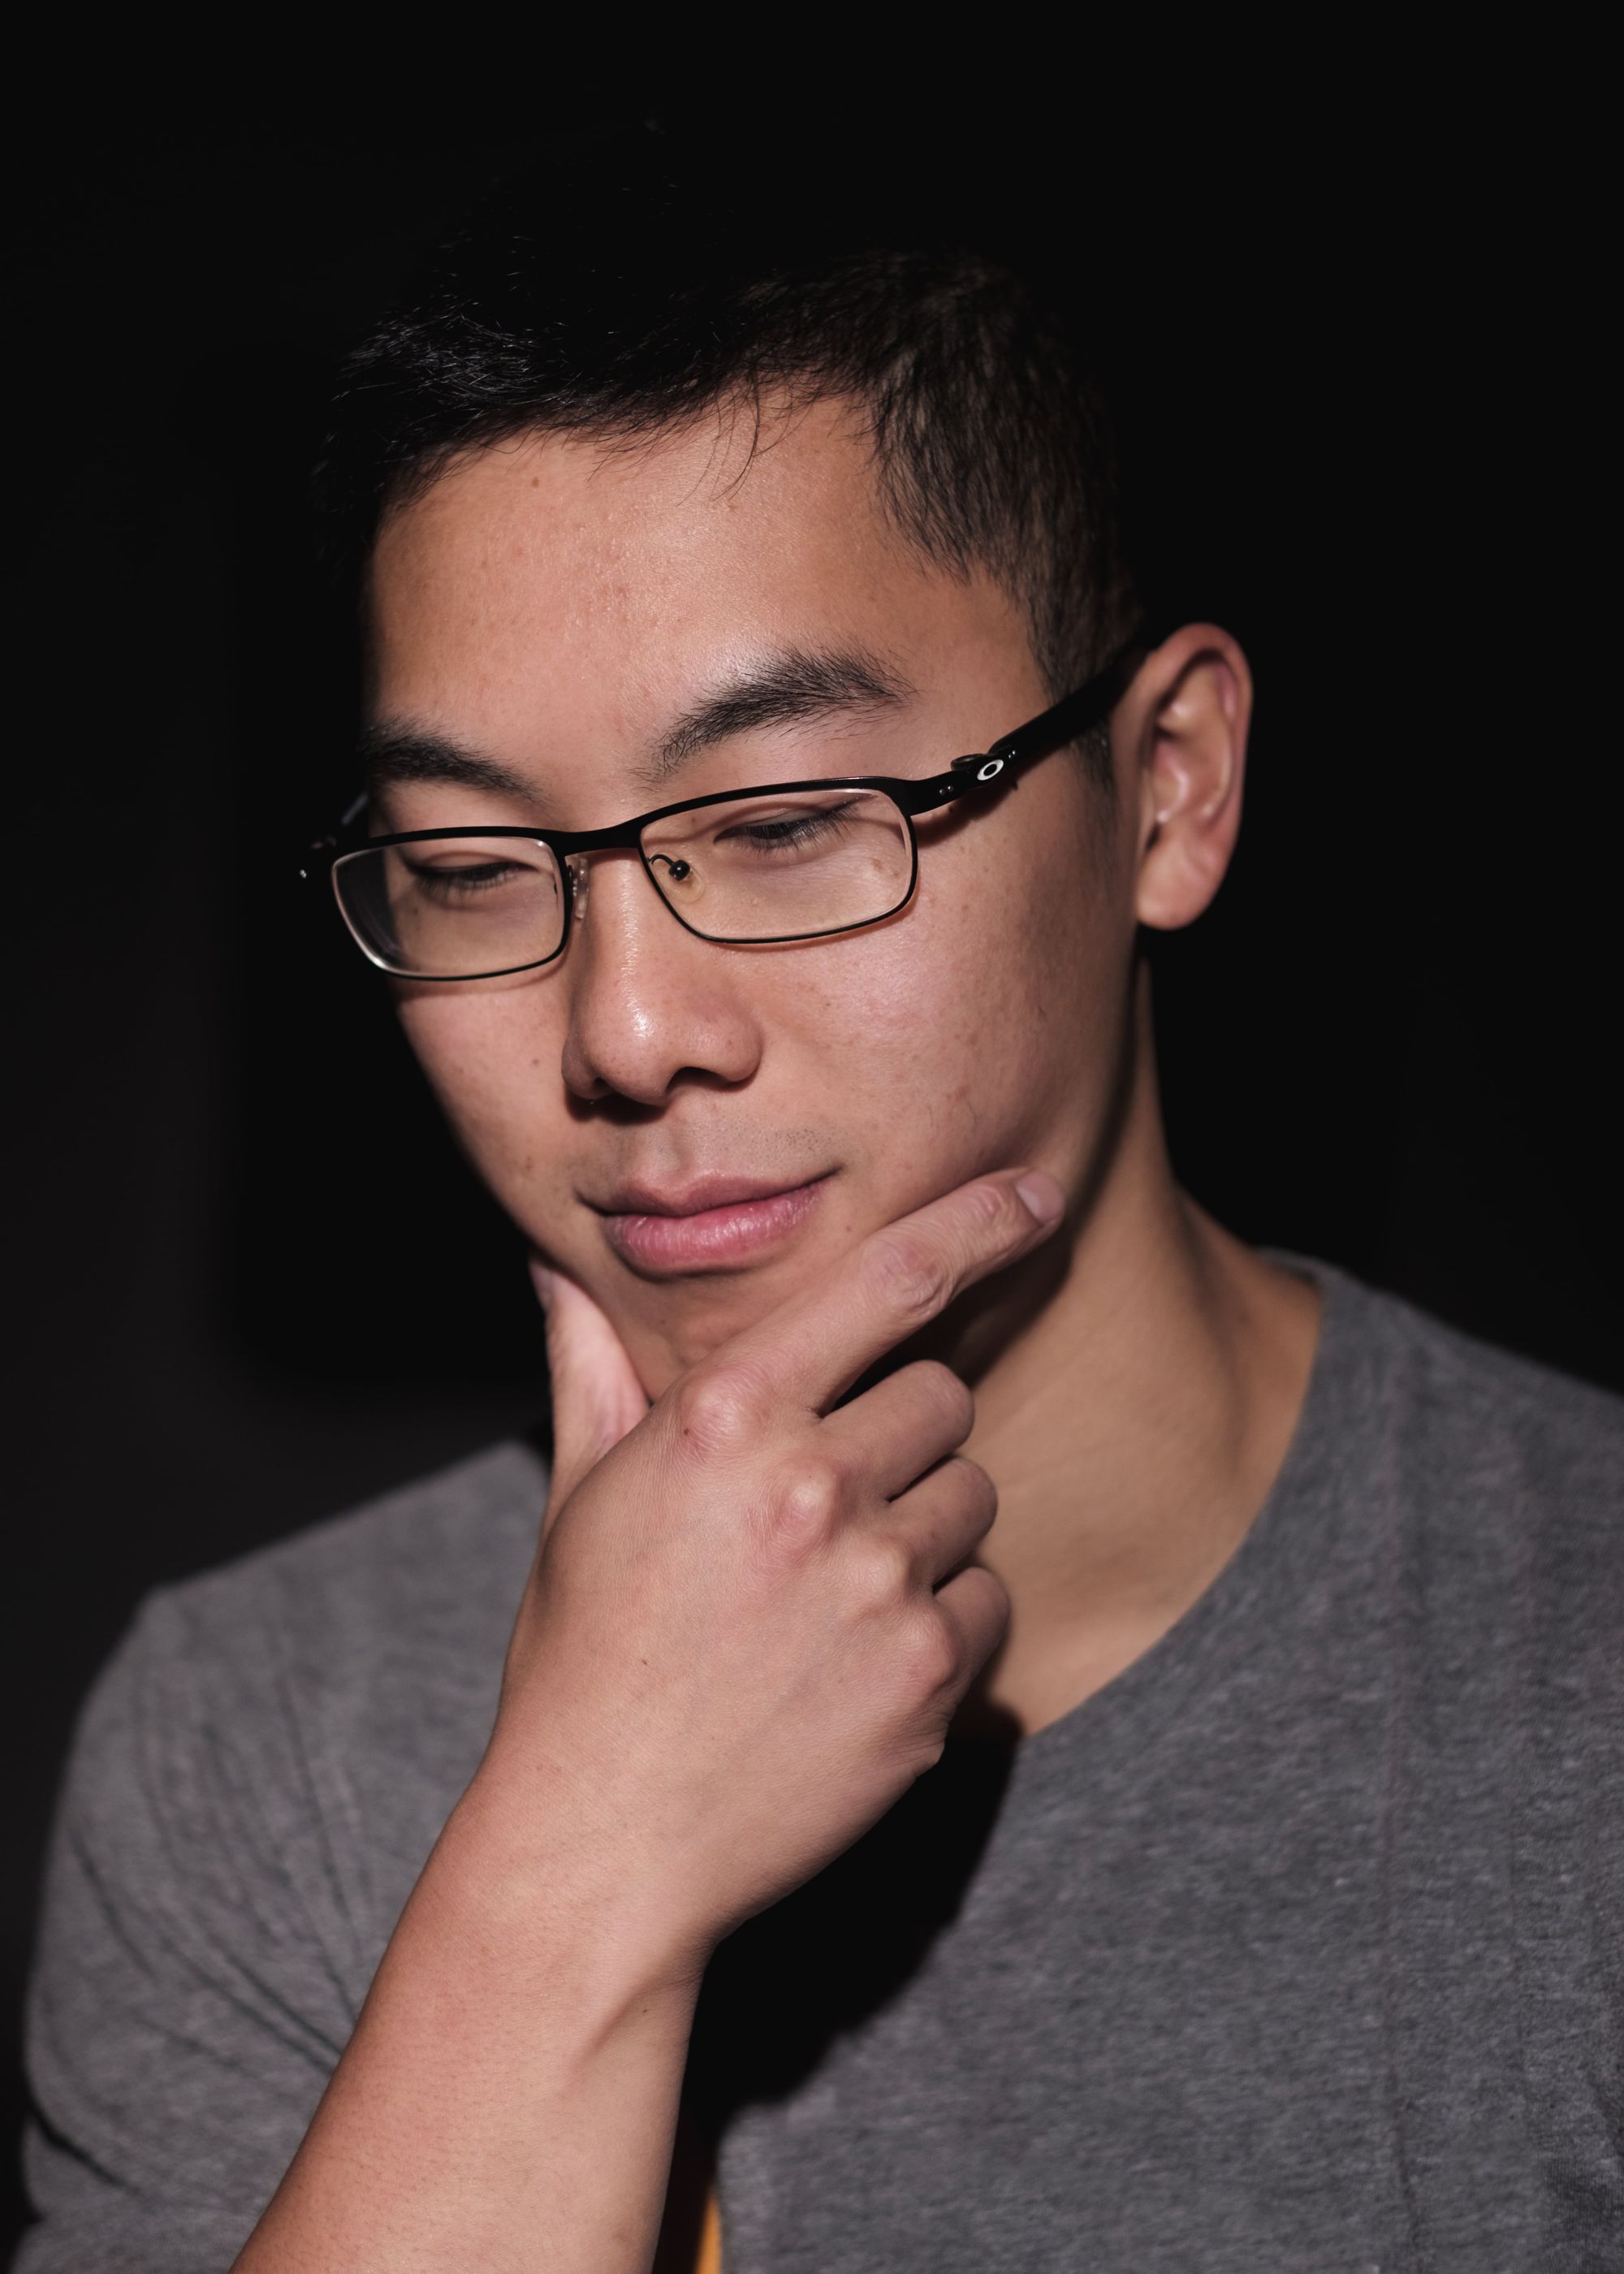
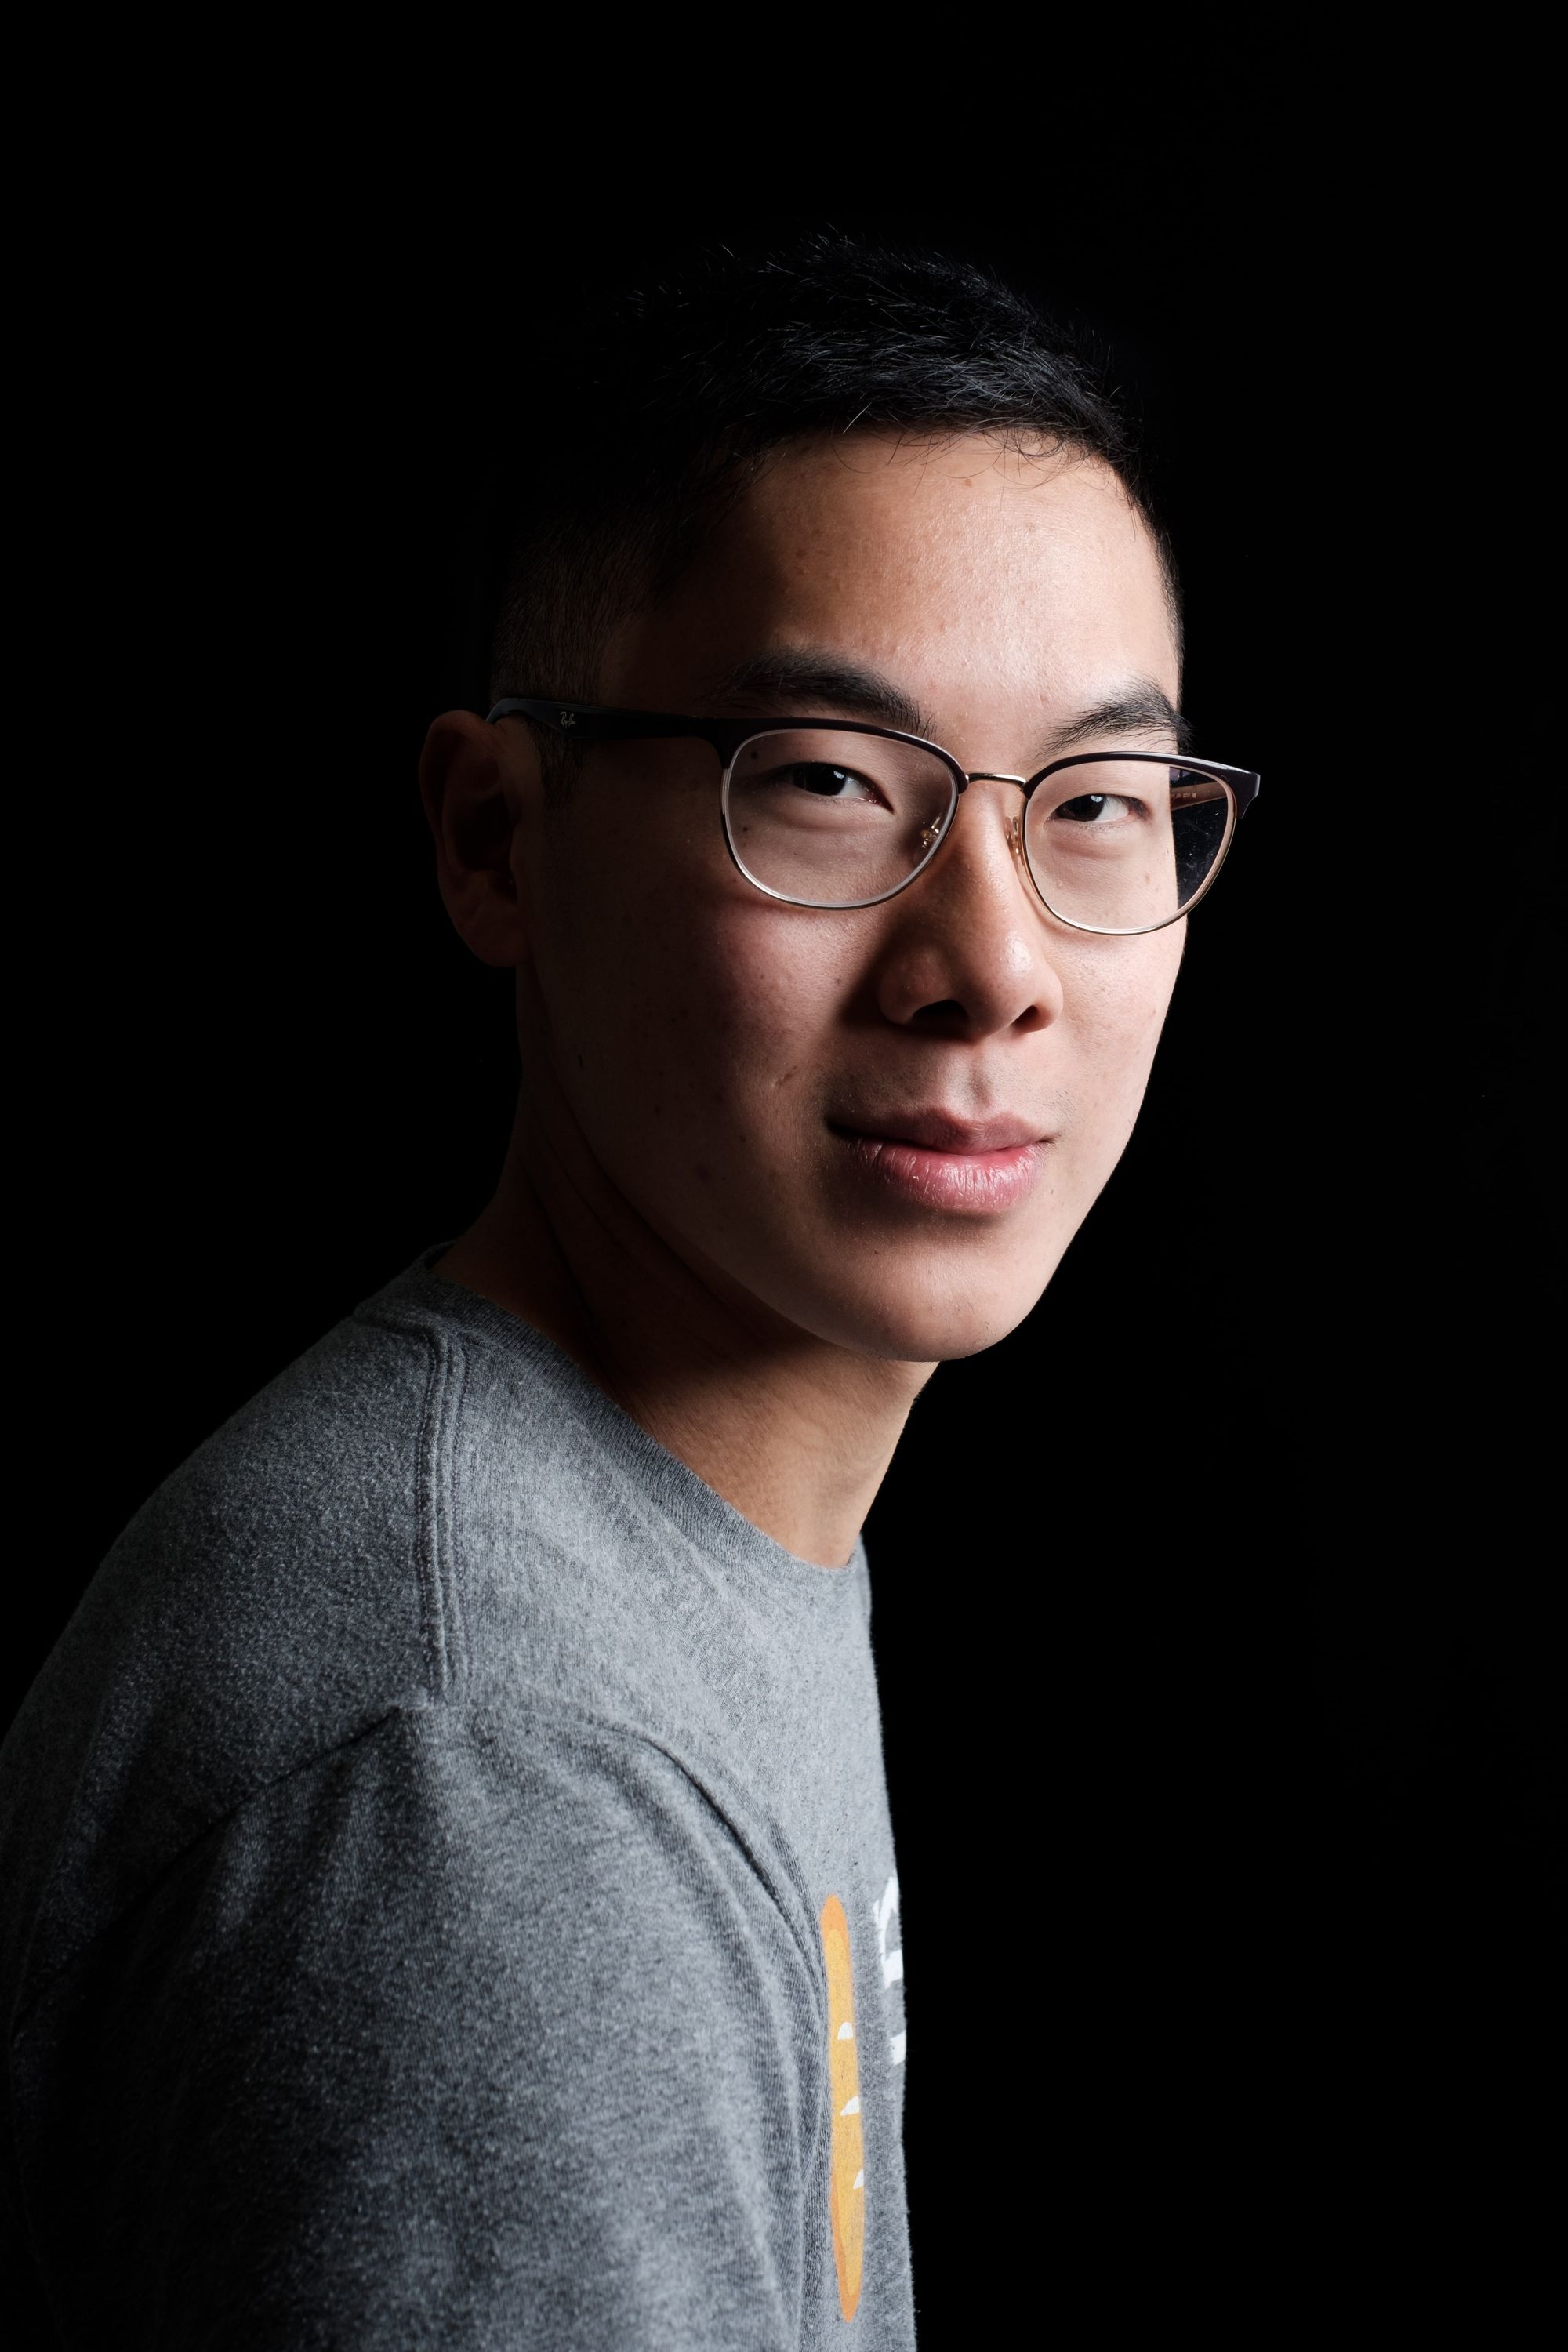
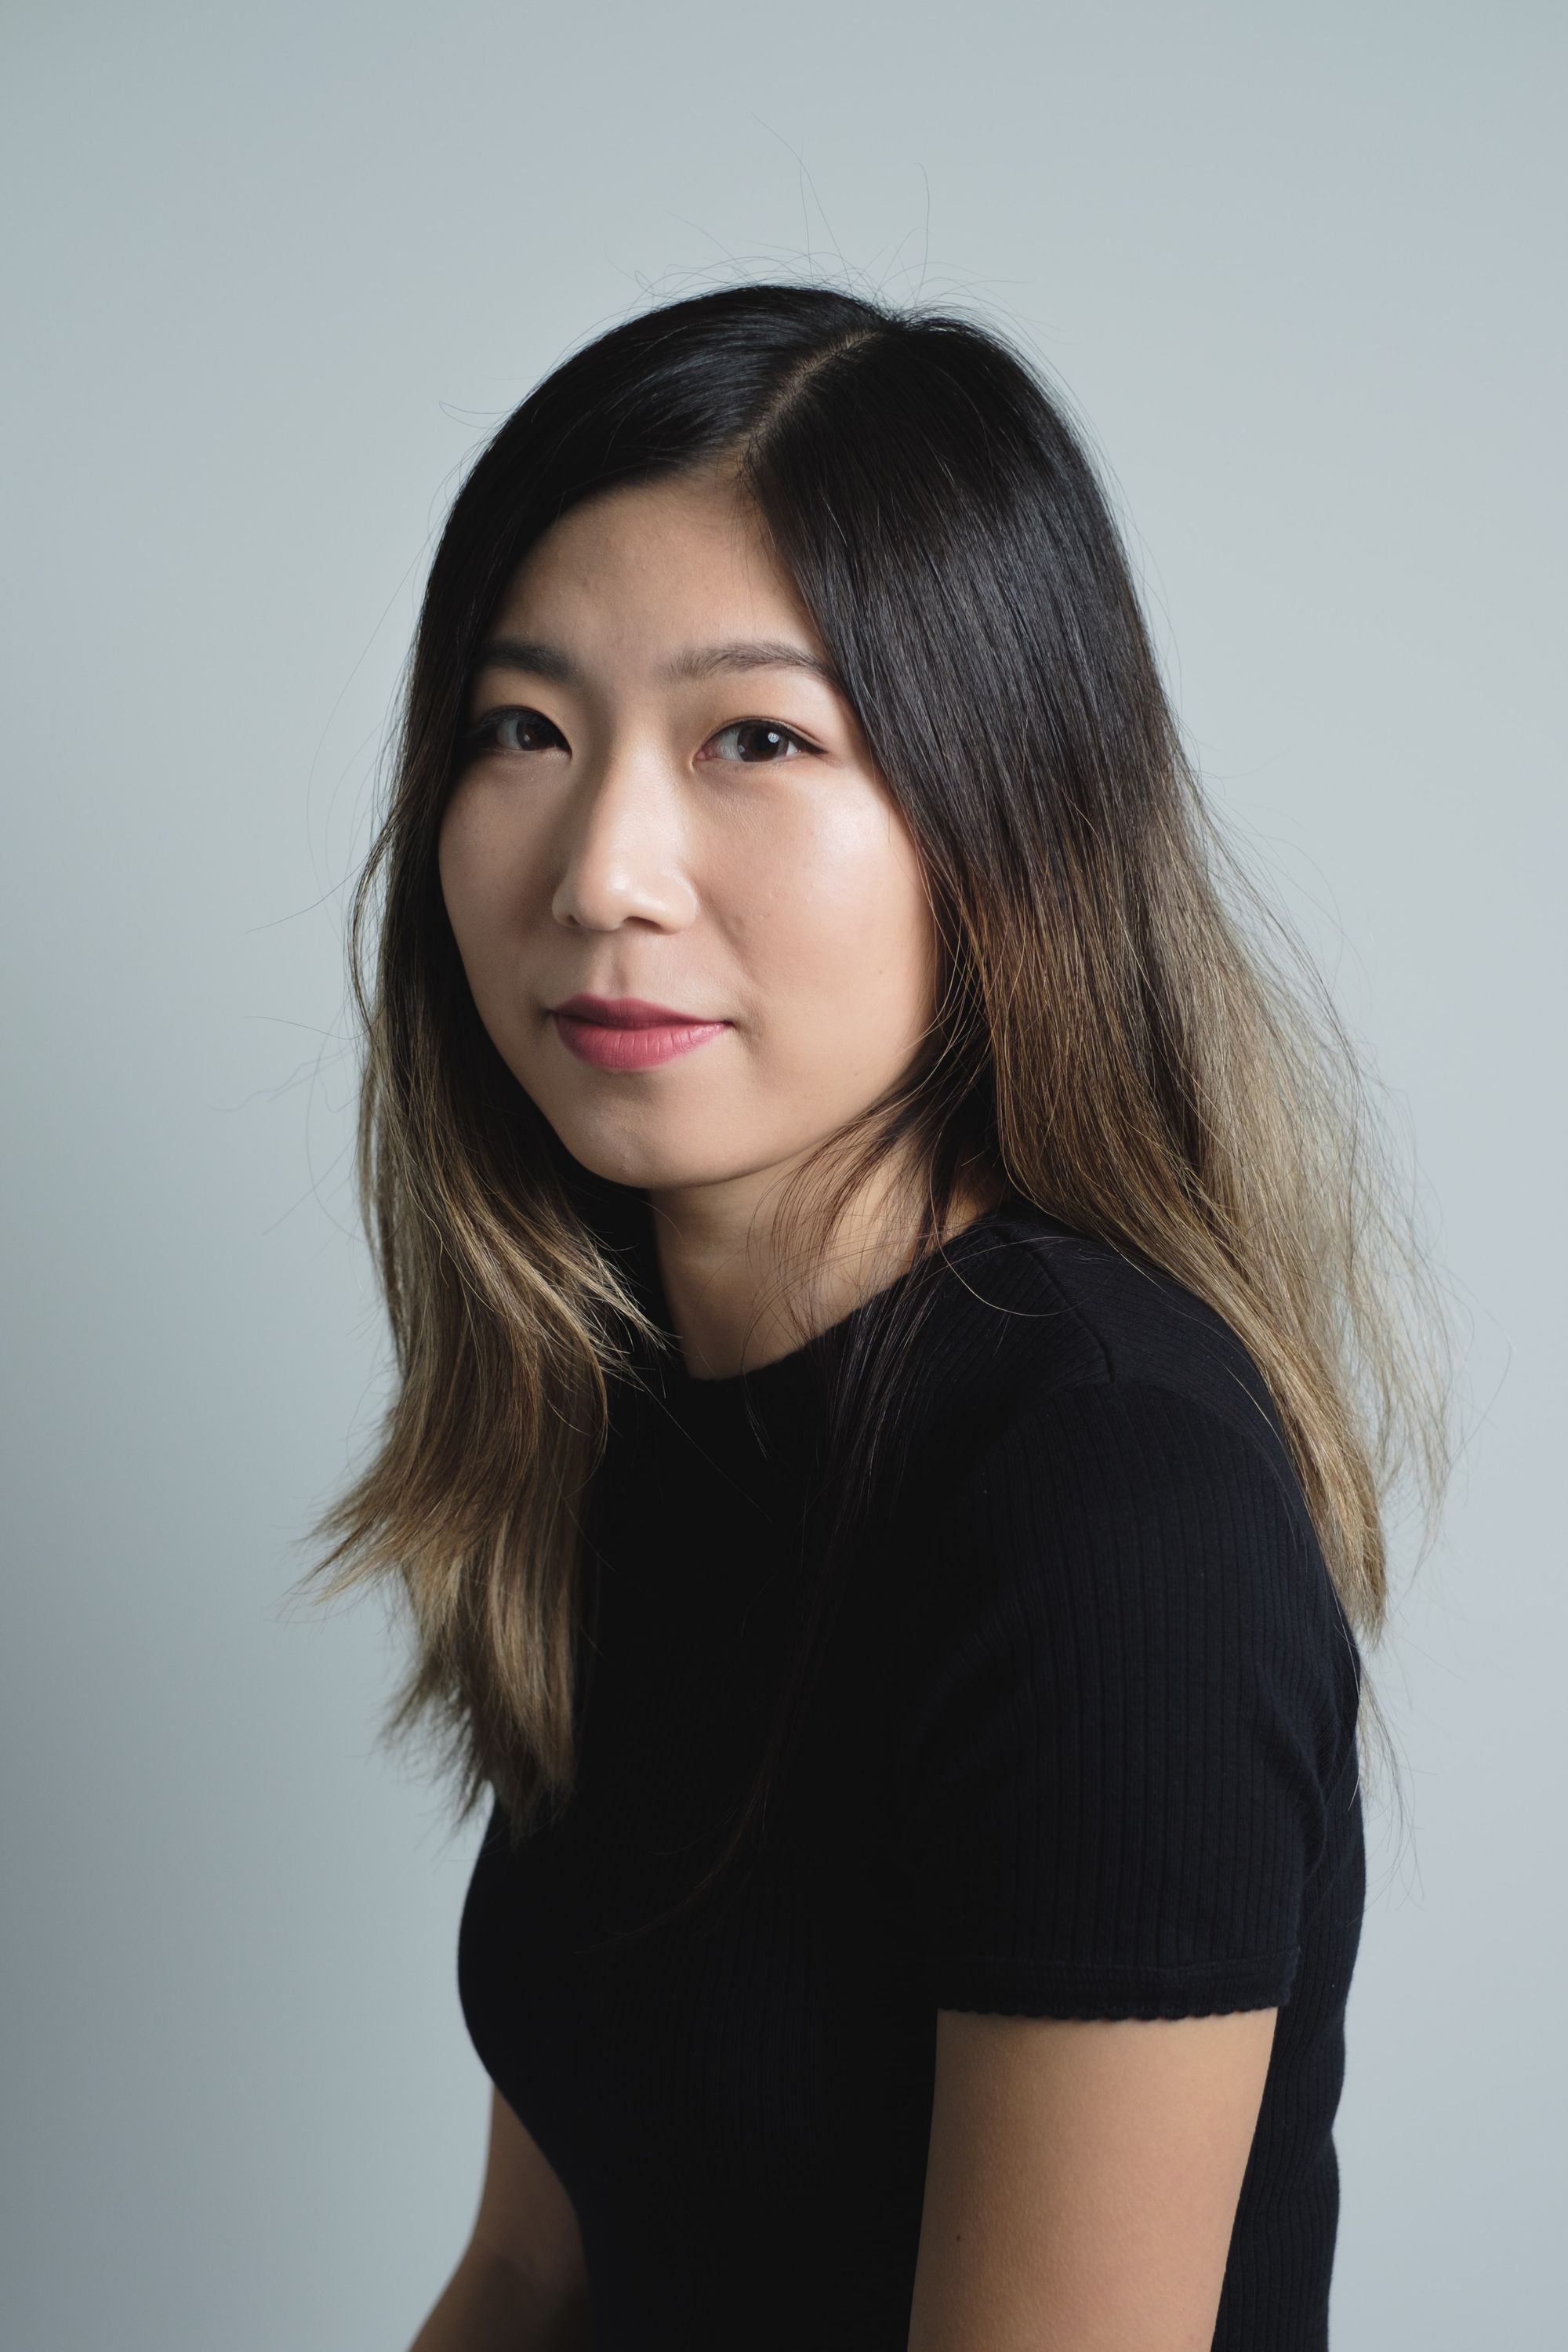
The size of the light affects pretty much all aspects of the photo - it determines the intensity of the shadows and the amount of diffusion.
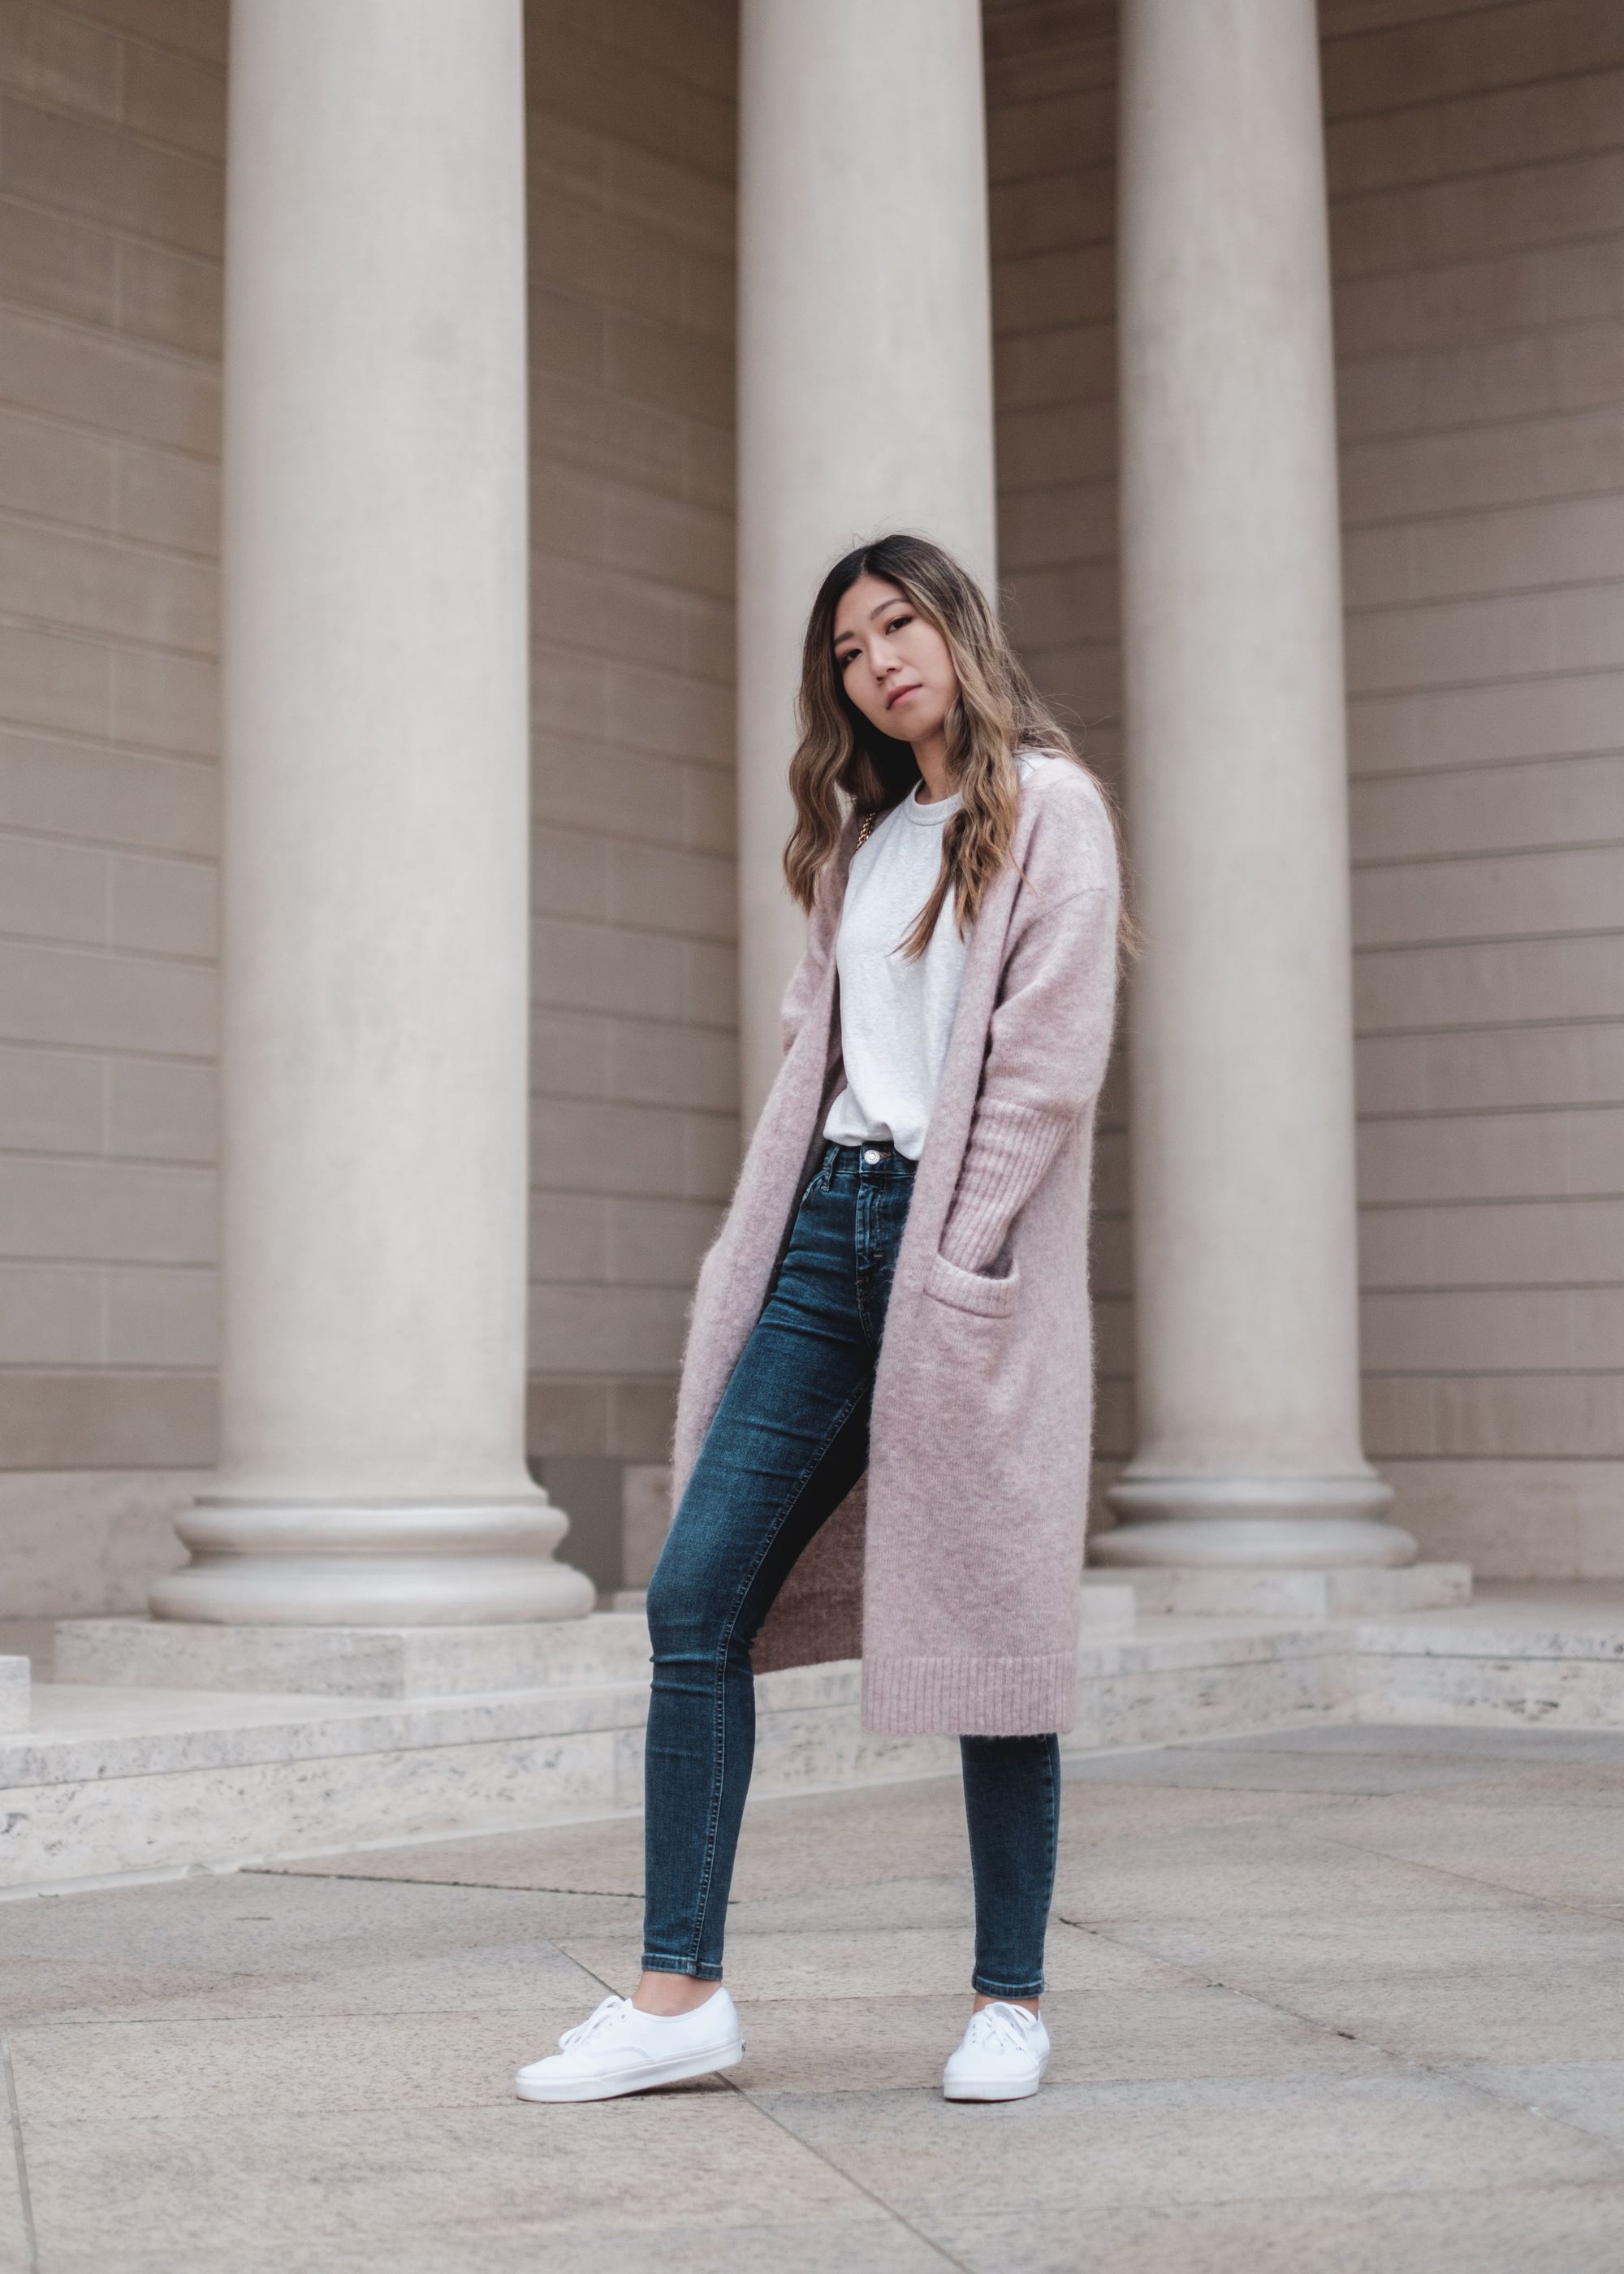
As the relative size of the light-to-subject increases, the shadows become softer and there's more diffusion. A small light source will result in strong direct light with hard shadows (hard light); a big light source will result in diffused light with soft shadows (soft light).

The distance also affects the size of the light as stated by the inverse square law. Increasing the distance between the subject and the light source will decrease both the size and intensity of the light. This property is incredibly useful because it means in many cases you can turn a white background black with enough distance between the subject and the background.
Knowing how soft and hard light is created, it's important to understand the characteristics of soft and hard light. In general, soft light will look "soft" (as the word soft suggests) with less contrast and detail, vice versa for hard light. The characteristics are simplified into a table below for better visualization:
| Attribute\Light | Soft | Hard |
|---|---|---|
| Subject detail | Less detail | More detail |
| Subject texture | Less texture | More texture |
| Highlight to shadow transition | Smooth slow transition | Harsh fast transition |
| Contrast | Less contrast | High contrast |
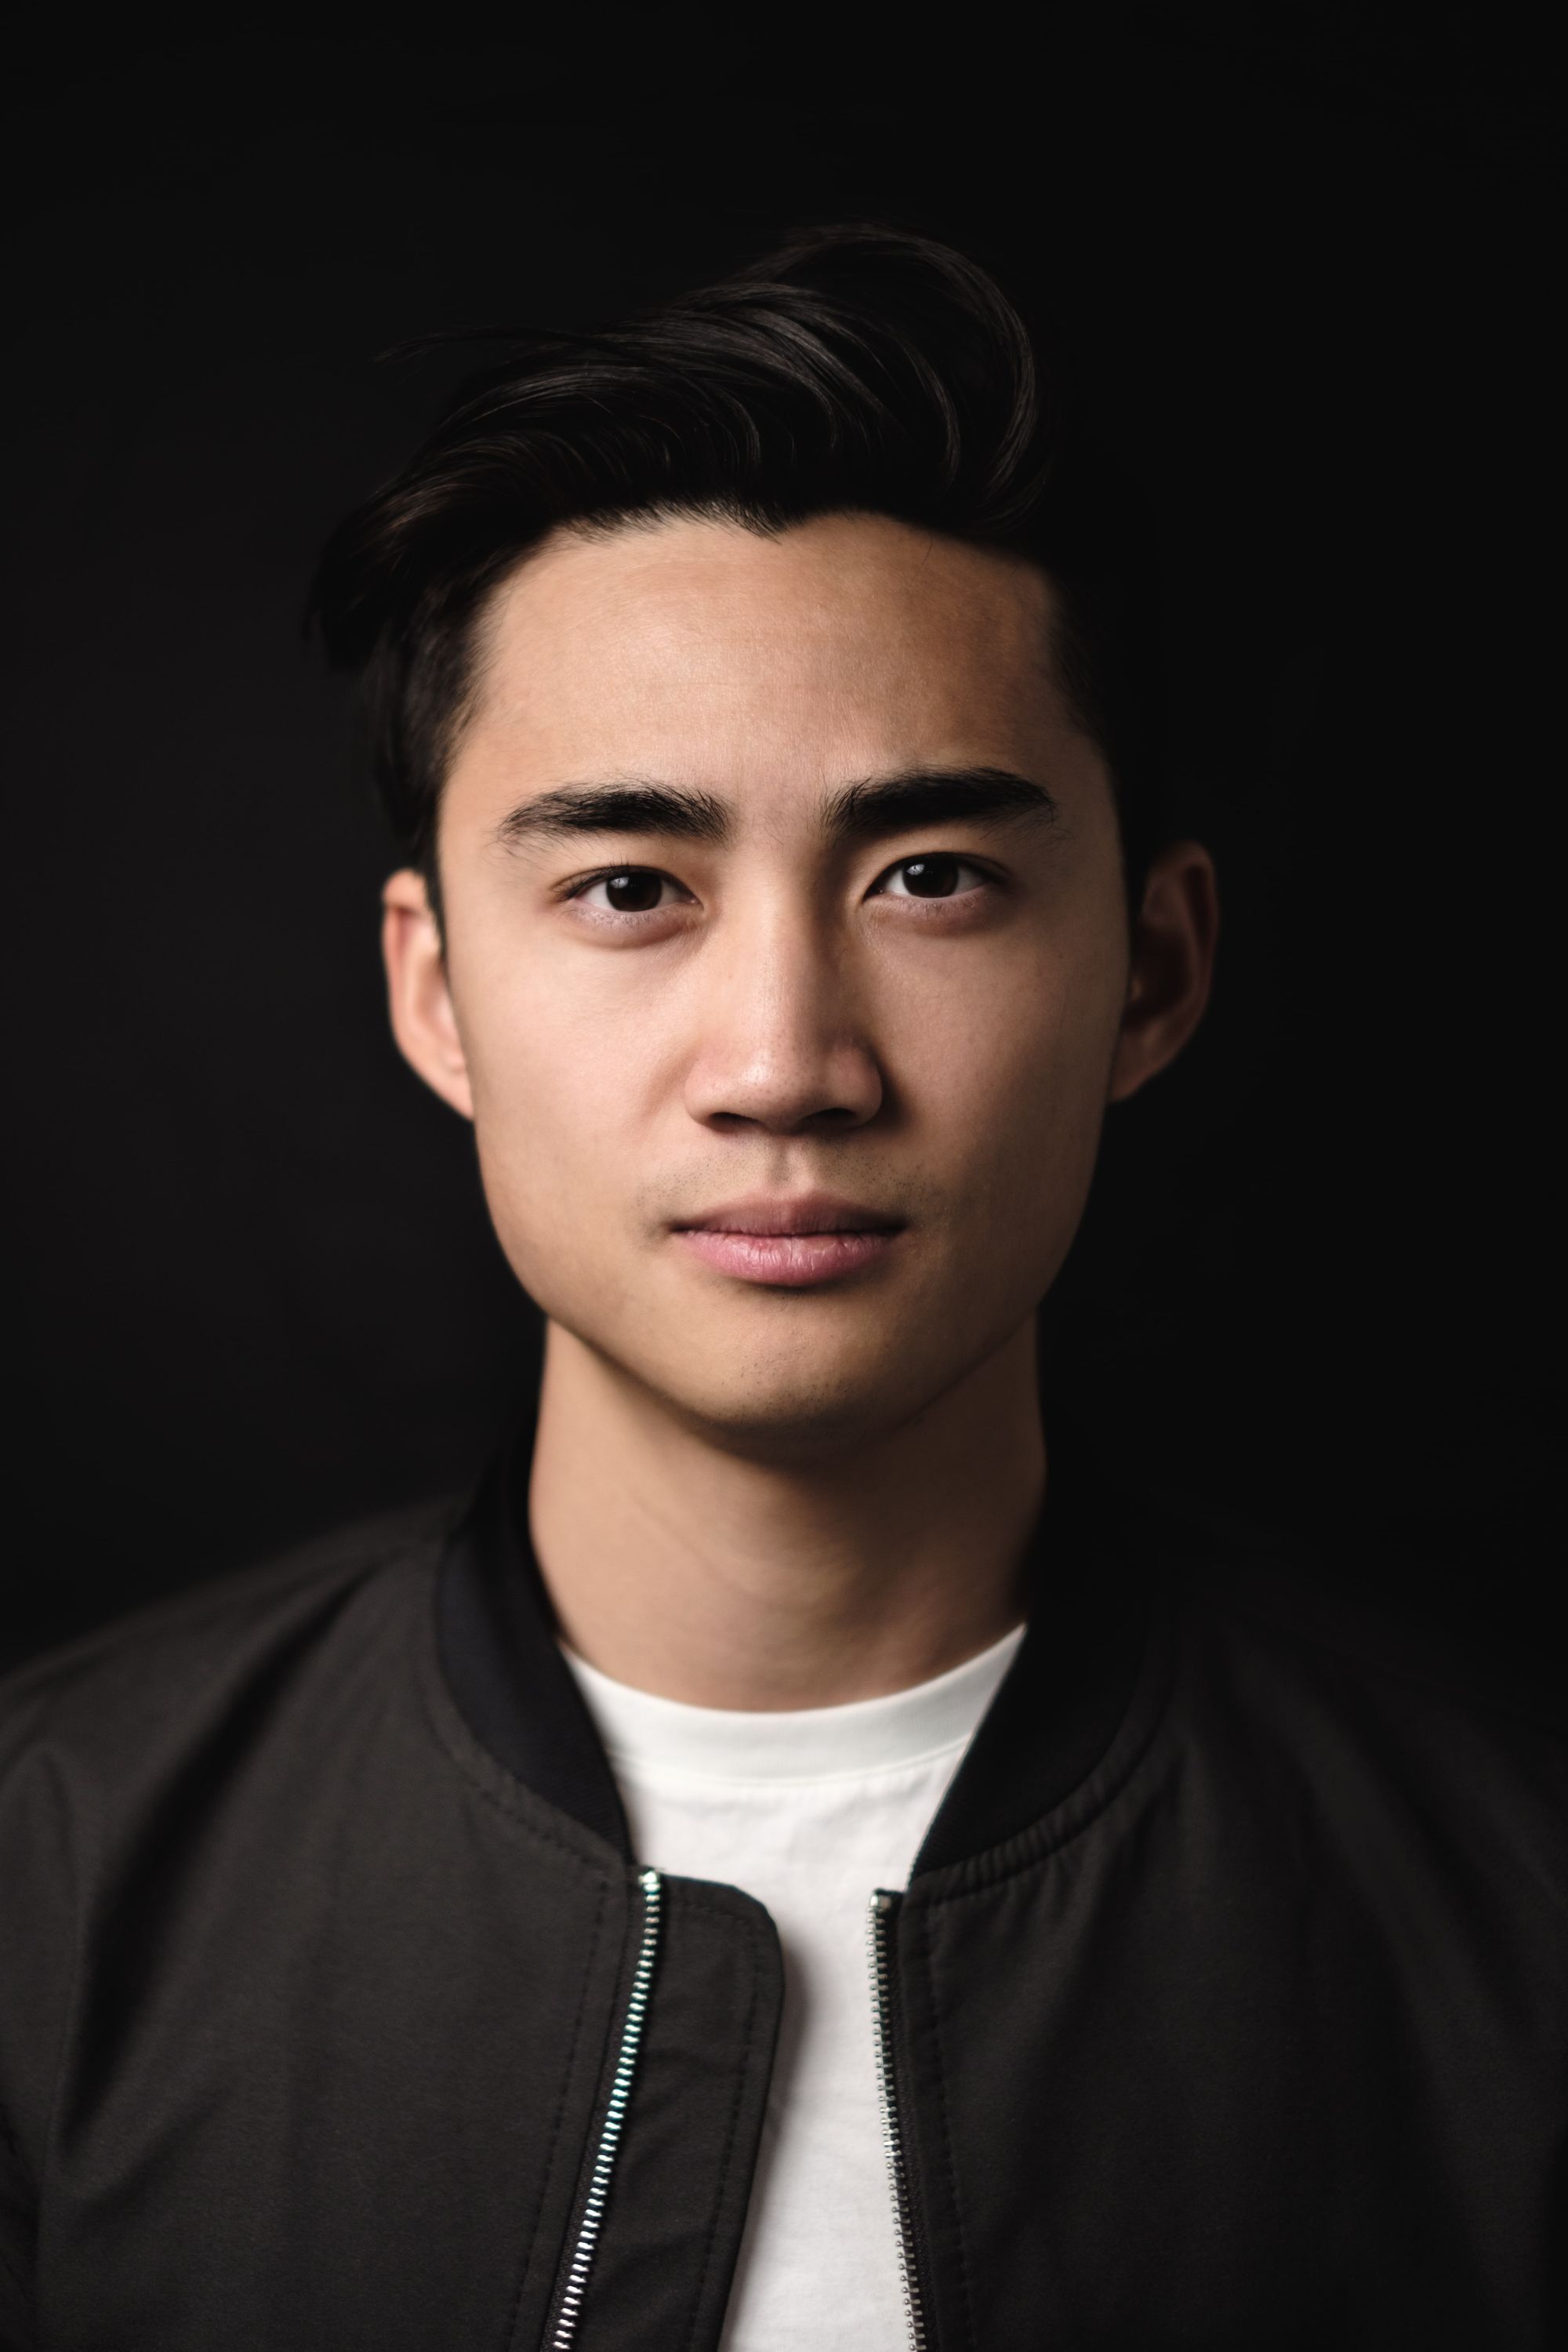
Have you ever wondered why it's so challenging to take photos during the middle of a sunny day? If we look up into the sky, we can see that the sun is actually a really small circle (far away) in the sky, meaning it's still a small light source and generates hard light. From the chart, we know that this means that sunlight produces intense shadows, details, and texture, which are often unflattering for portraits. No one likes to see their pores and skin imperfections accentuated by hard light. Coupled with the fact that the sun is a very powerful light, we end up with huge dynamic ranges that are difficult to manage with the harsh instant transitions of shadow to highlight.
The light source size and its effect on the quality of light are really simple and easily understood. But ingraining it into your brain and applying it until it becomes second nature takes a tremendous amount of practice.
Gear really doesn't matter that much starting out.
When I started out with constructing my own lights, I soon found out there's a lot of potential equipment involved in studio photography - flash units, studio strobes, lighting modifiers, backdrops, light stands, etc. There was overwhelming variety and it felt impossible to select the equipment best suited for my needs, especially with my lack of experience.
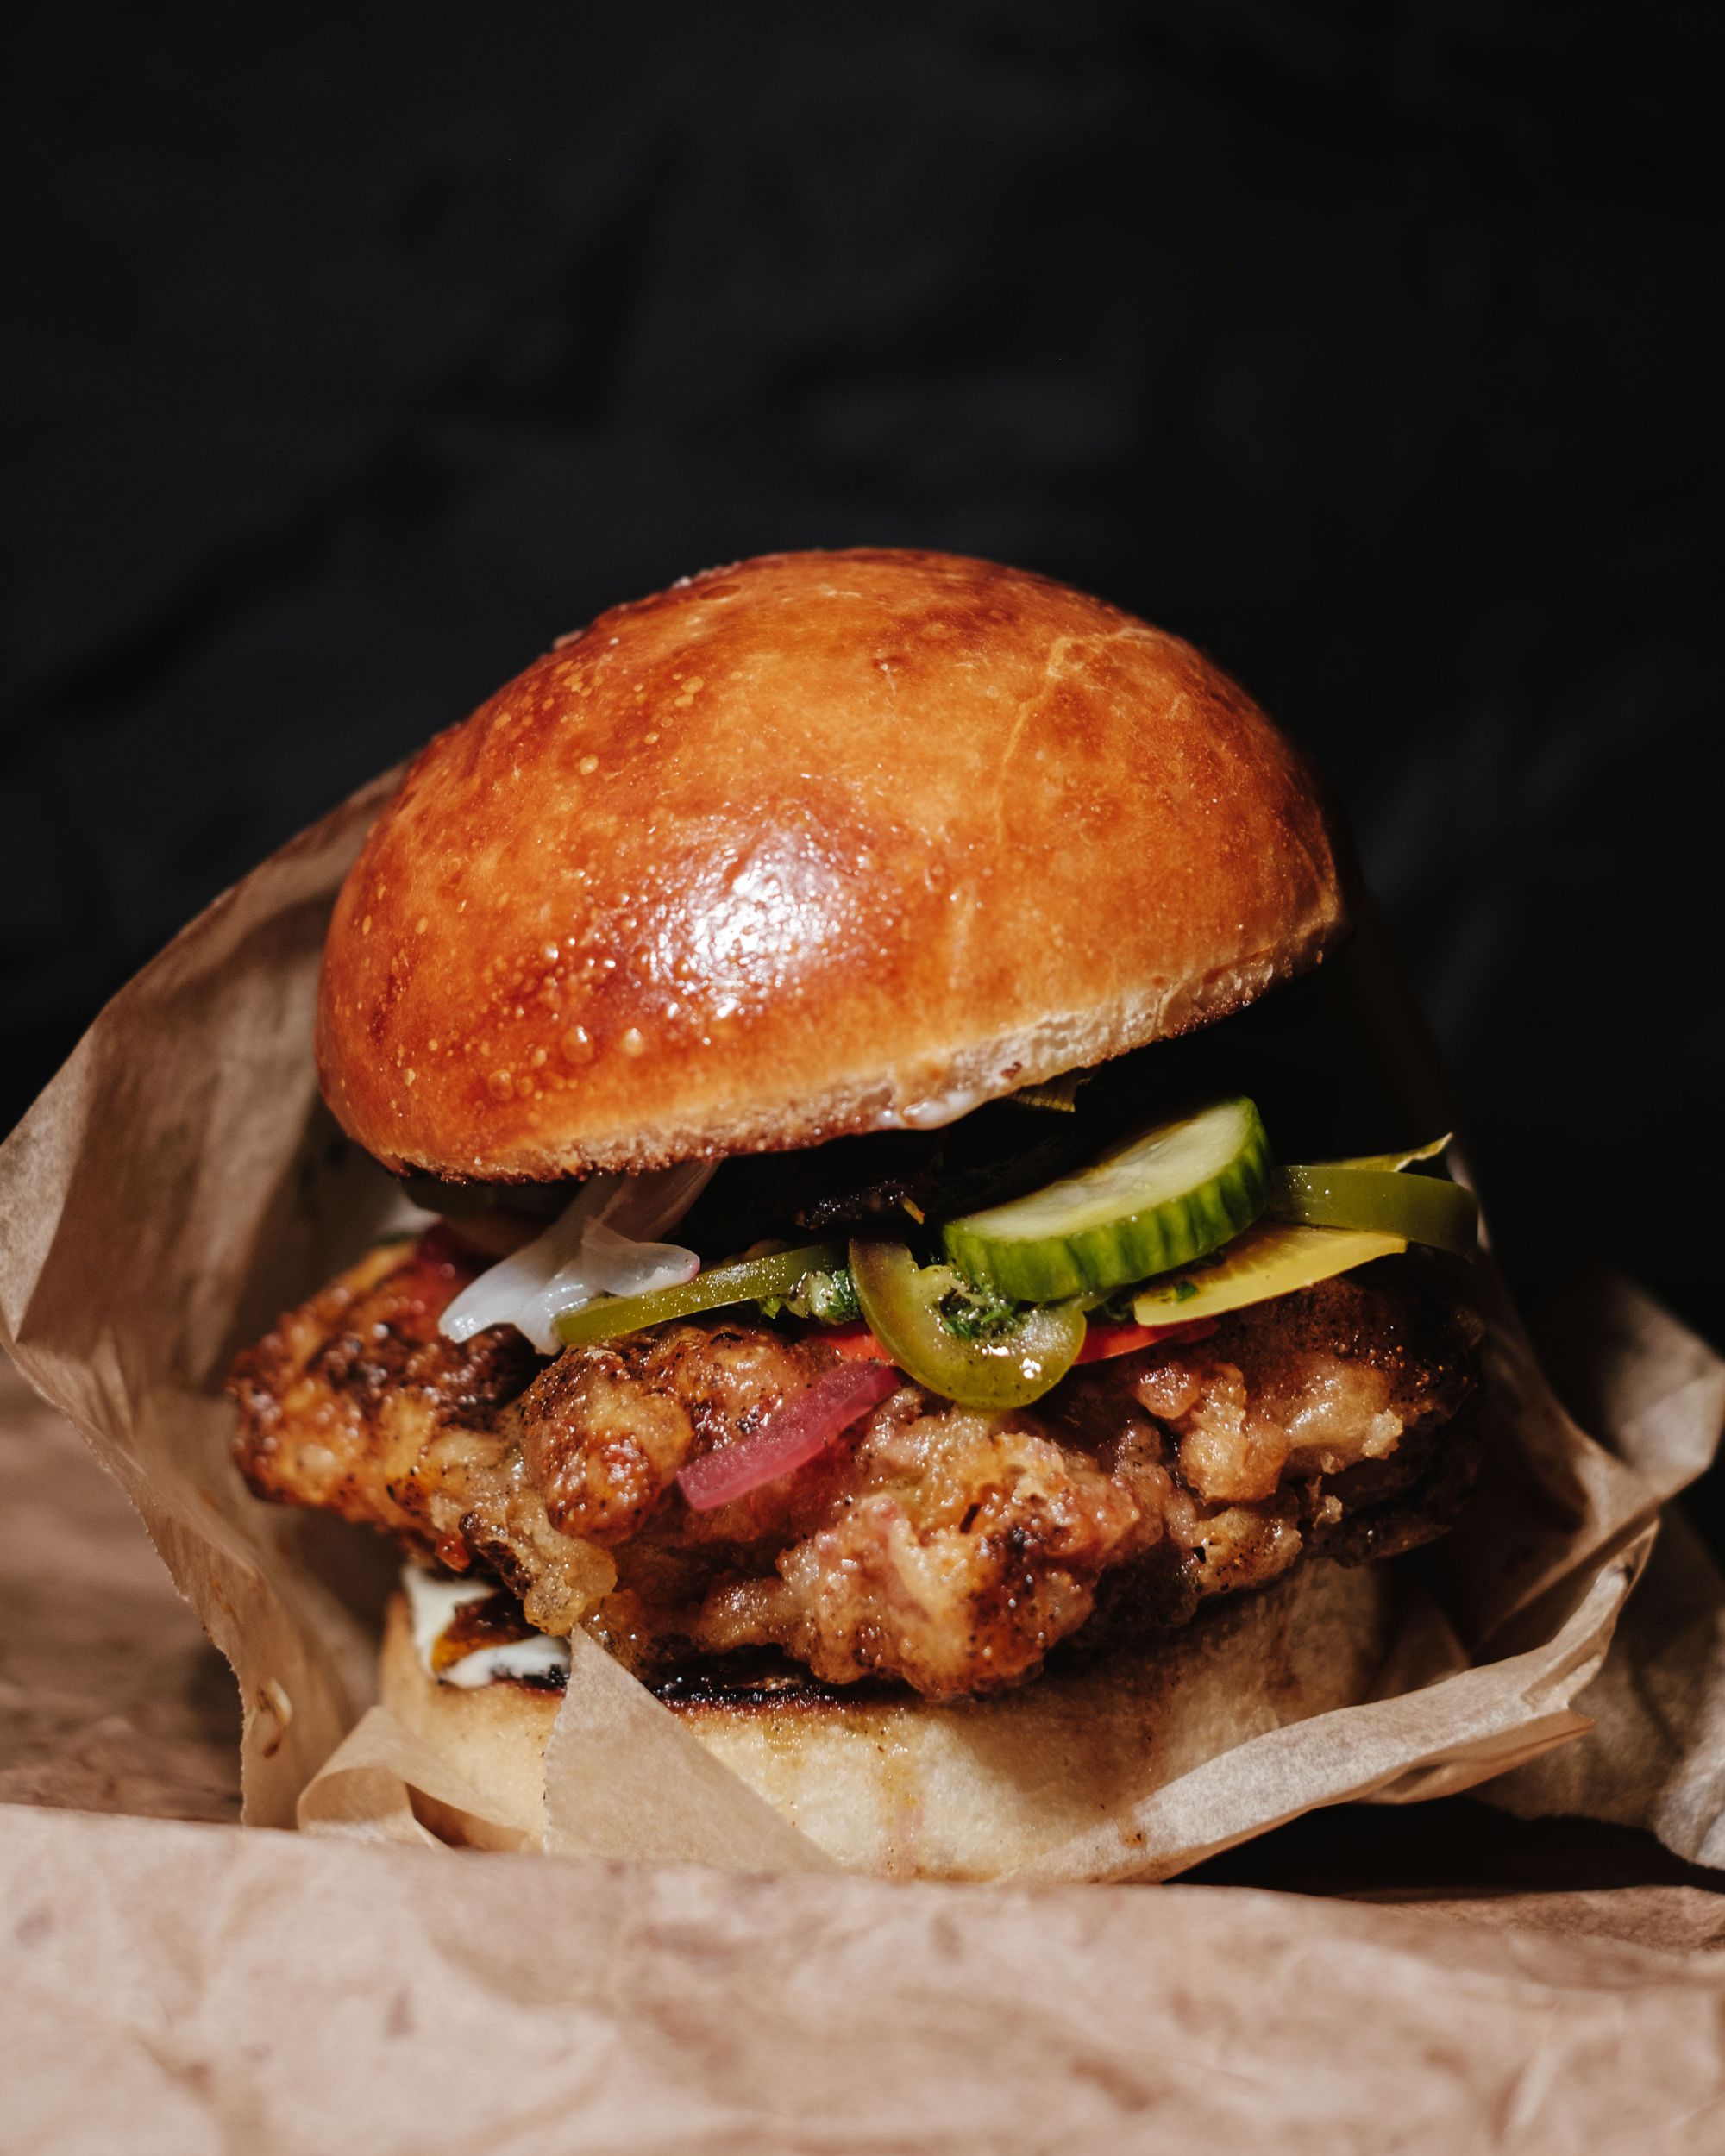
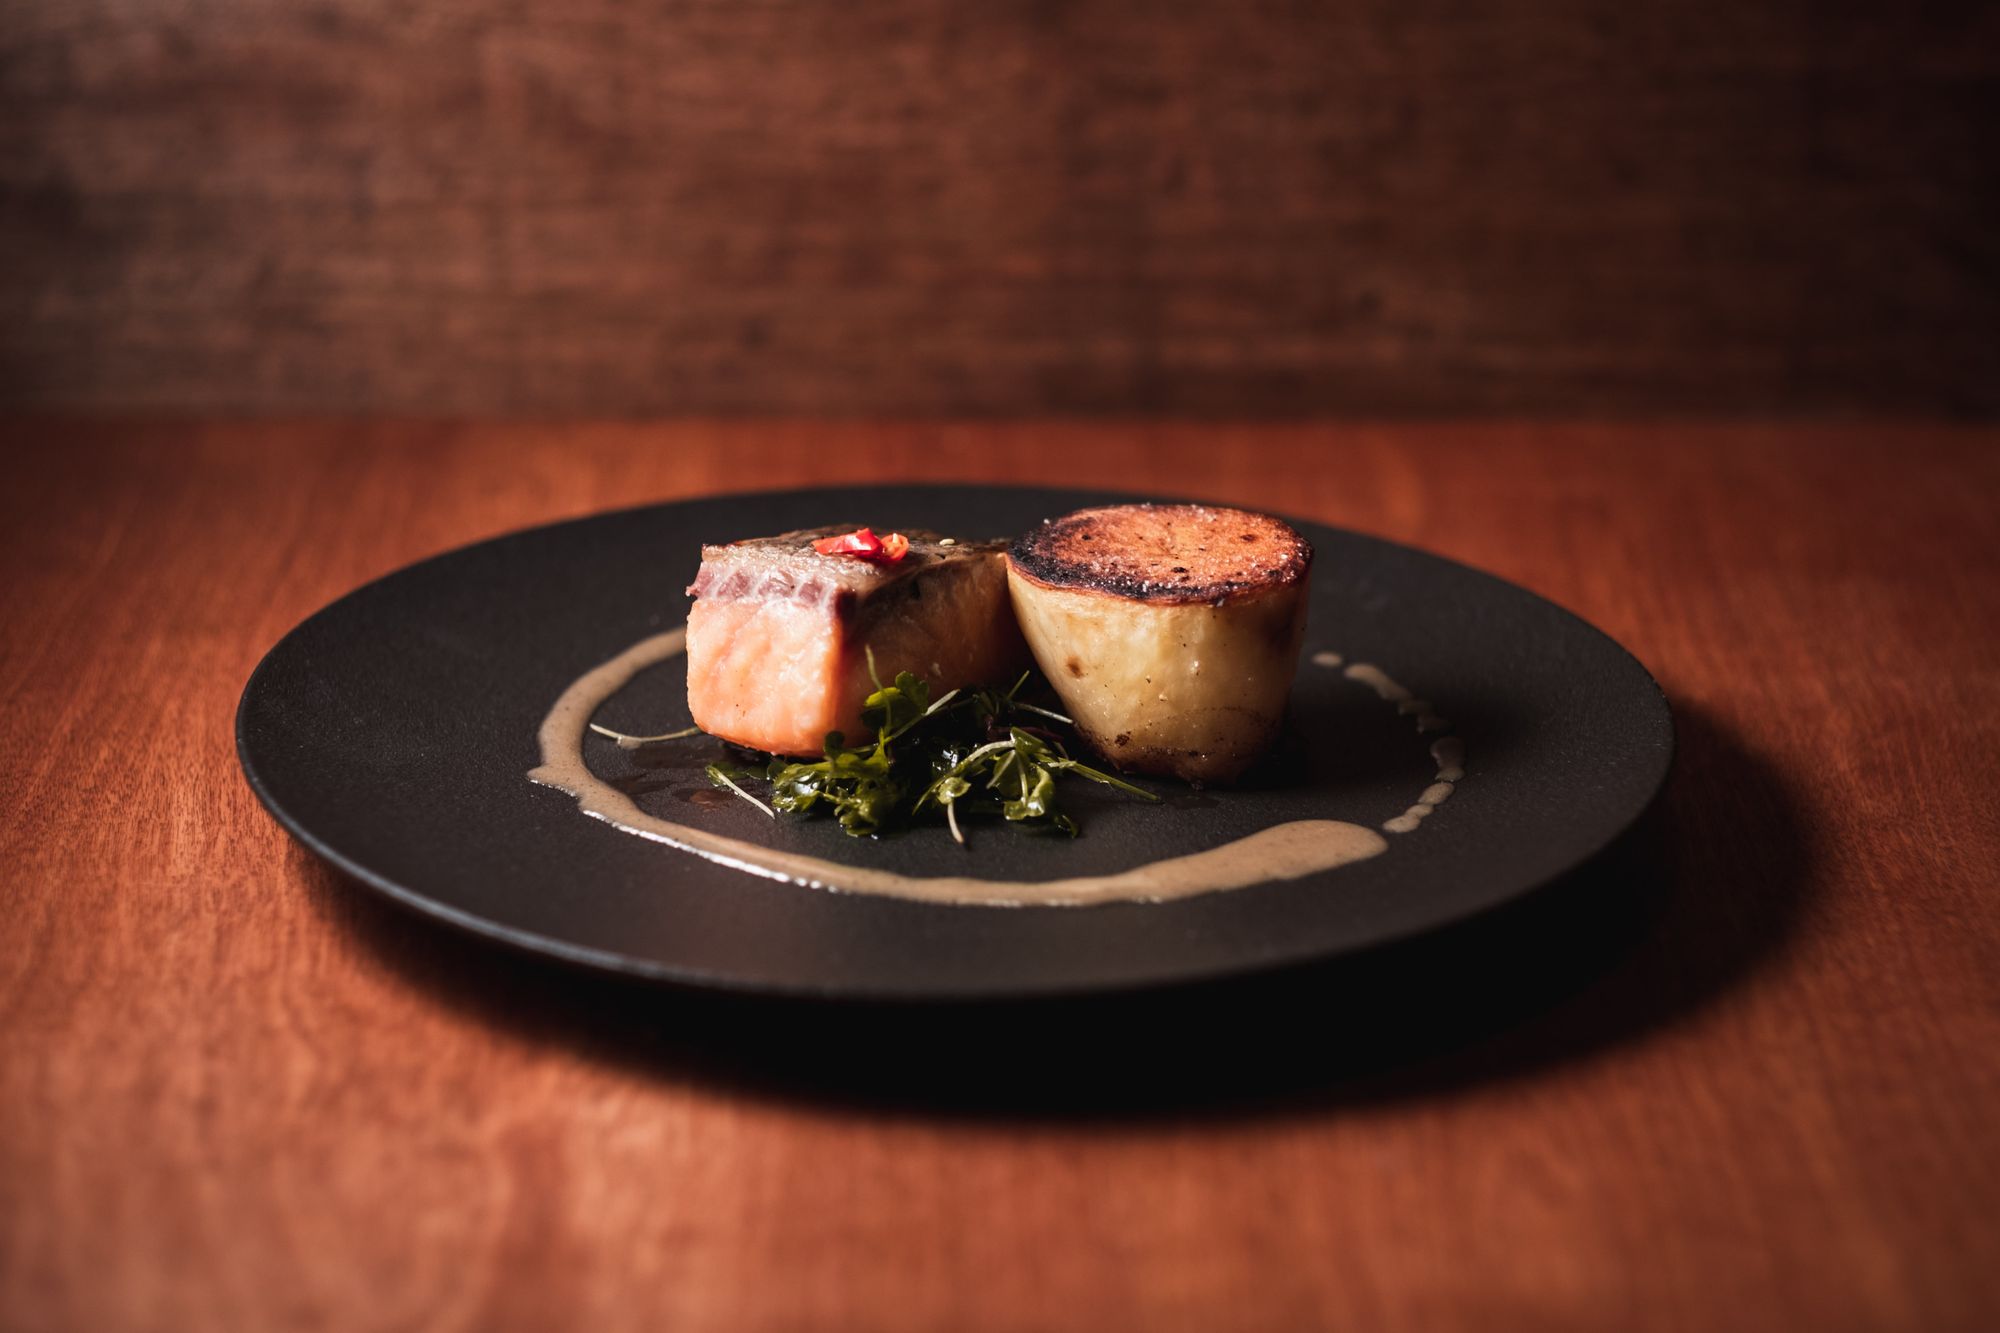
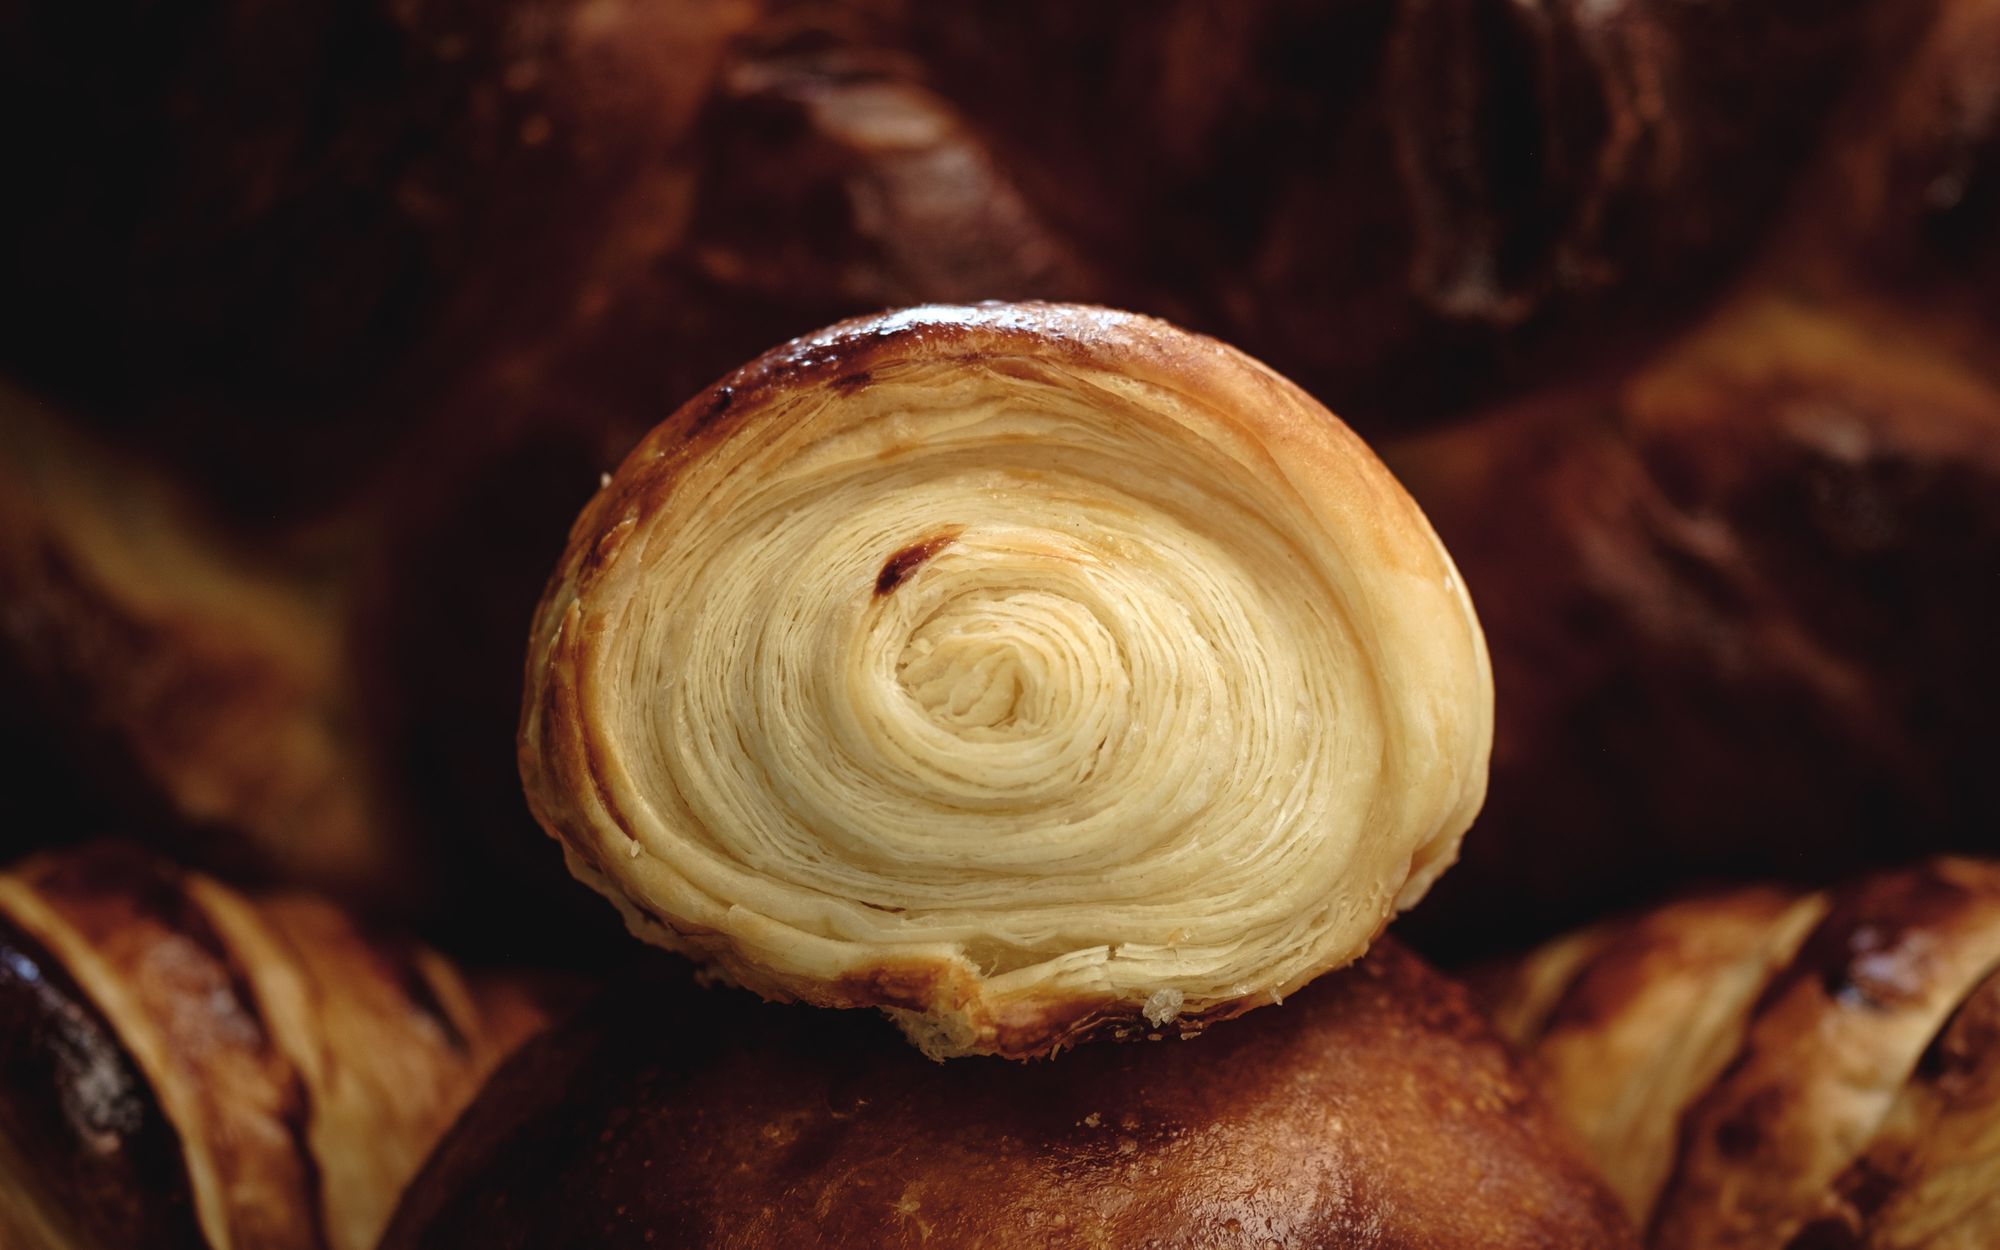
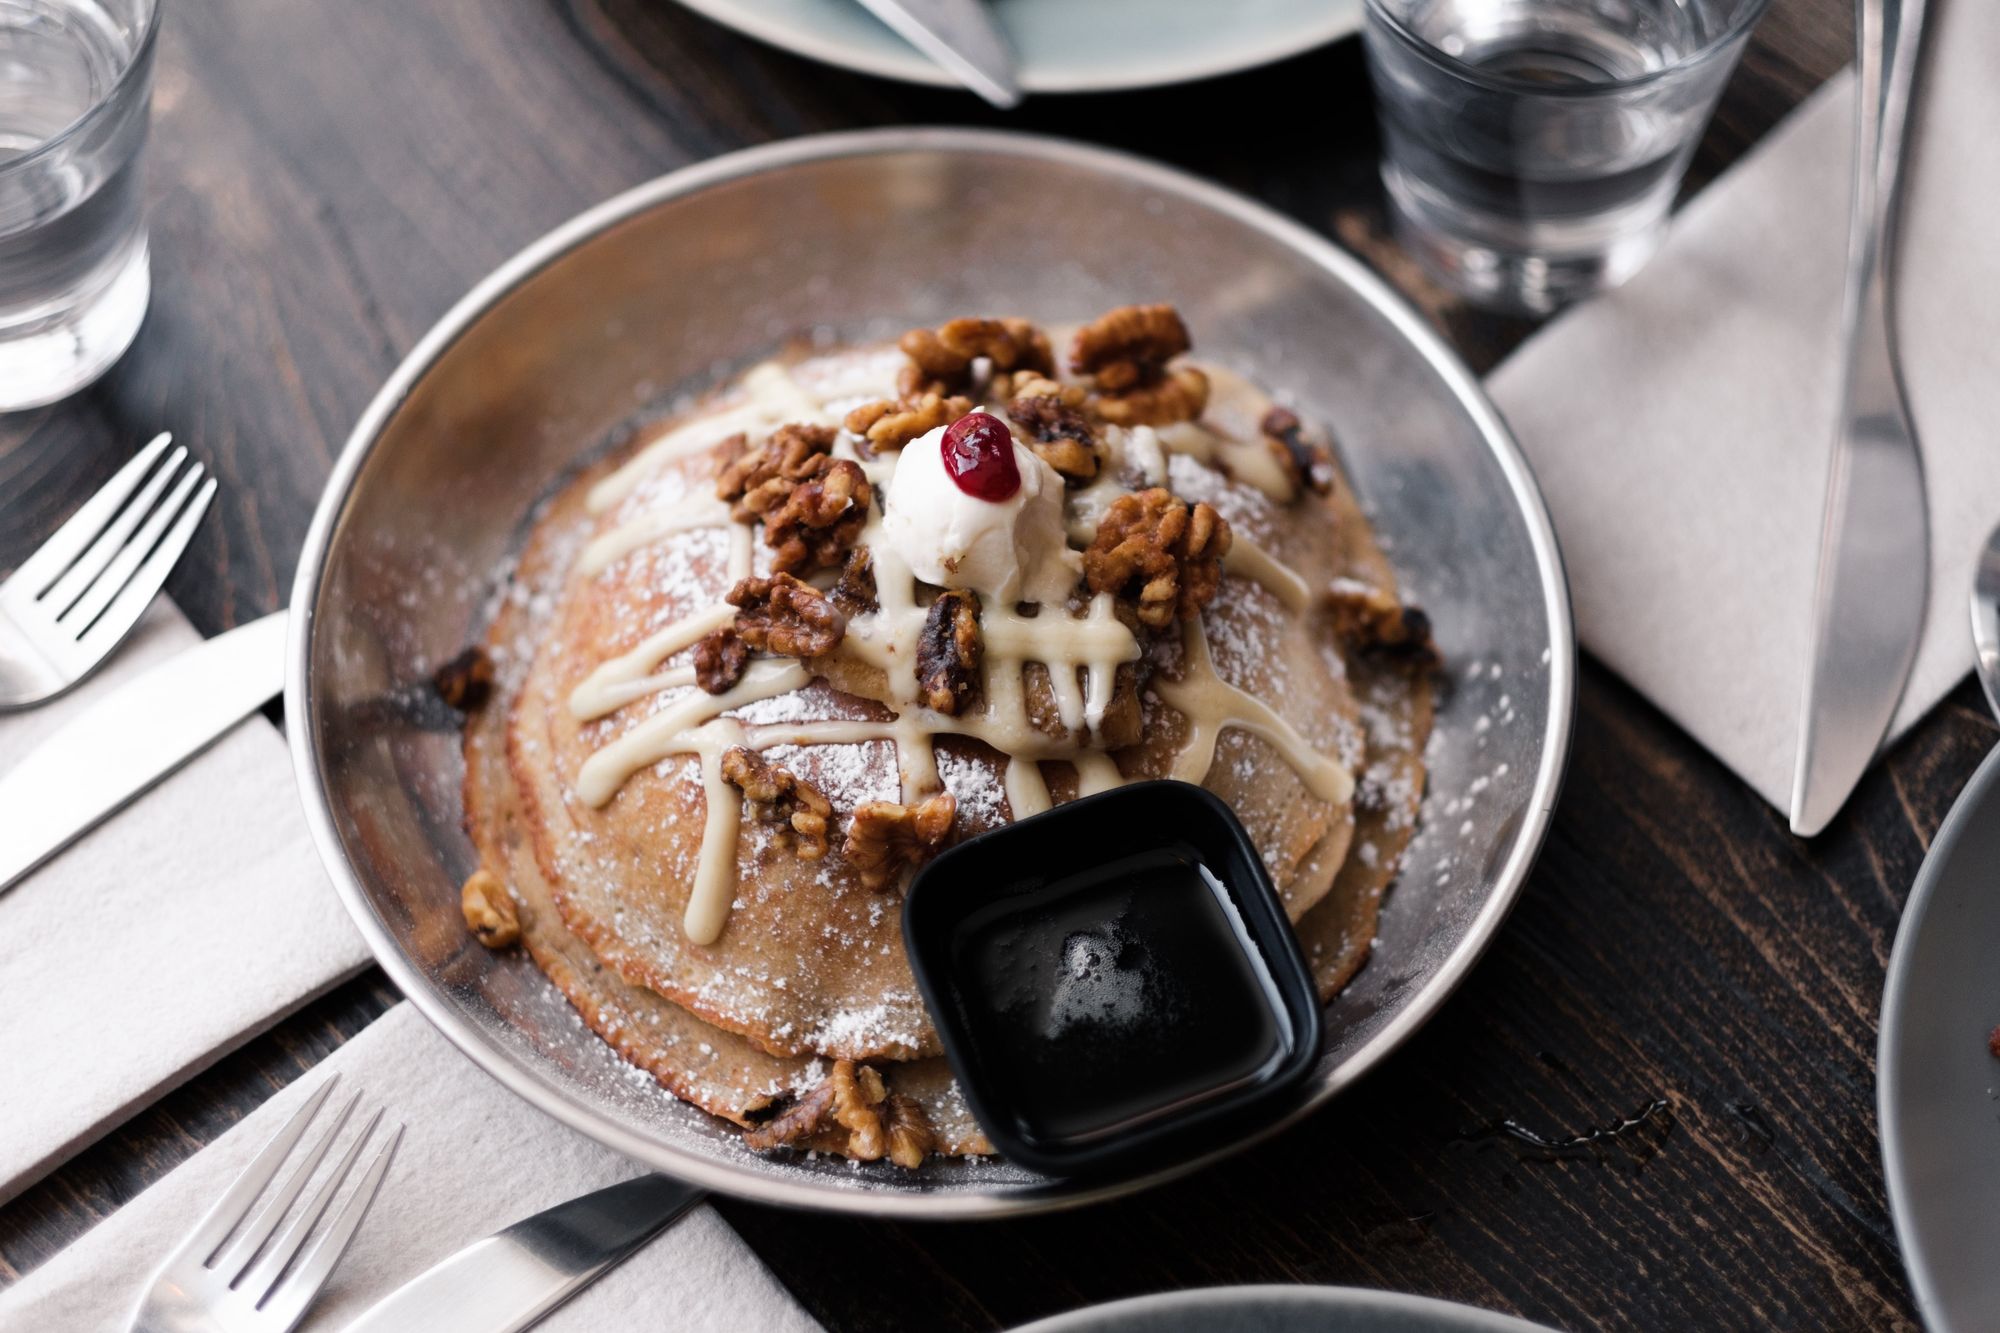
Eventually, I gave up trying to find the perfect equipment due to decision paralysis and simply got a circular reflector and diffuser combo. I improvised the rest of the equipment. I used a household lamp as my light source, a variety of different bed sheets as the backdrop, friends as light stands, and my garage as an enclosed space with minimal ambient light. Using this setup, I was able to shoot a variety of food photography. With smaller objects, it’s easier to bootstrap your setup and there's less gear required.
After shooting with this setup for a while, I finally decided to get some real studio gear (I'll cover that in another post) to simplify my process and help me photograph more efficiently. I think it's important to test out your interests before going all out and buying niche gear, or else you'll just end up wasting money.
Even when the day comes where you need to buy studio gear, don't be overwhelmed by the extensive variety of lights and modifiers. It turns out expensive modifiers perform approximately the same as cheap modifiers for the general use case. There's a really good YouTube video where a variety of lighting modifiers are compared, concluding simple bounce from white surface produced similar results as an expensive softbox:
The same goes for light as well. I started out with a decently powerful studio strobe with high-speed sync as my first light. But if I had to start over, an off-camera flash would've been strong enough for my use cases. The subjects (still people, food, objects) I photographed seldom required a shutter speed that's faster than 1/100. I never used the full potential of my light as the power settings I used could've been achieved with an off-camera flash, which would've cost a lot less money as well.
In general, figuring what you gear you need verses what gear you want is really difficult with the current consumeristic landscape. I follow a more minimalistic purchasing philosophy and separate my desire to buy things from the desire to improve my photography. Then I buy the bare minimum equipment required to achieve the results I look for. That being said, I do believe in buying high-quality equipment is important and that buying cheap low-quality equipment is a waste of money in the long run. Do buy a circular reflector though, those are cheap and very useful.
Plan the shoot around available light.
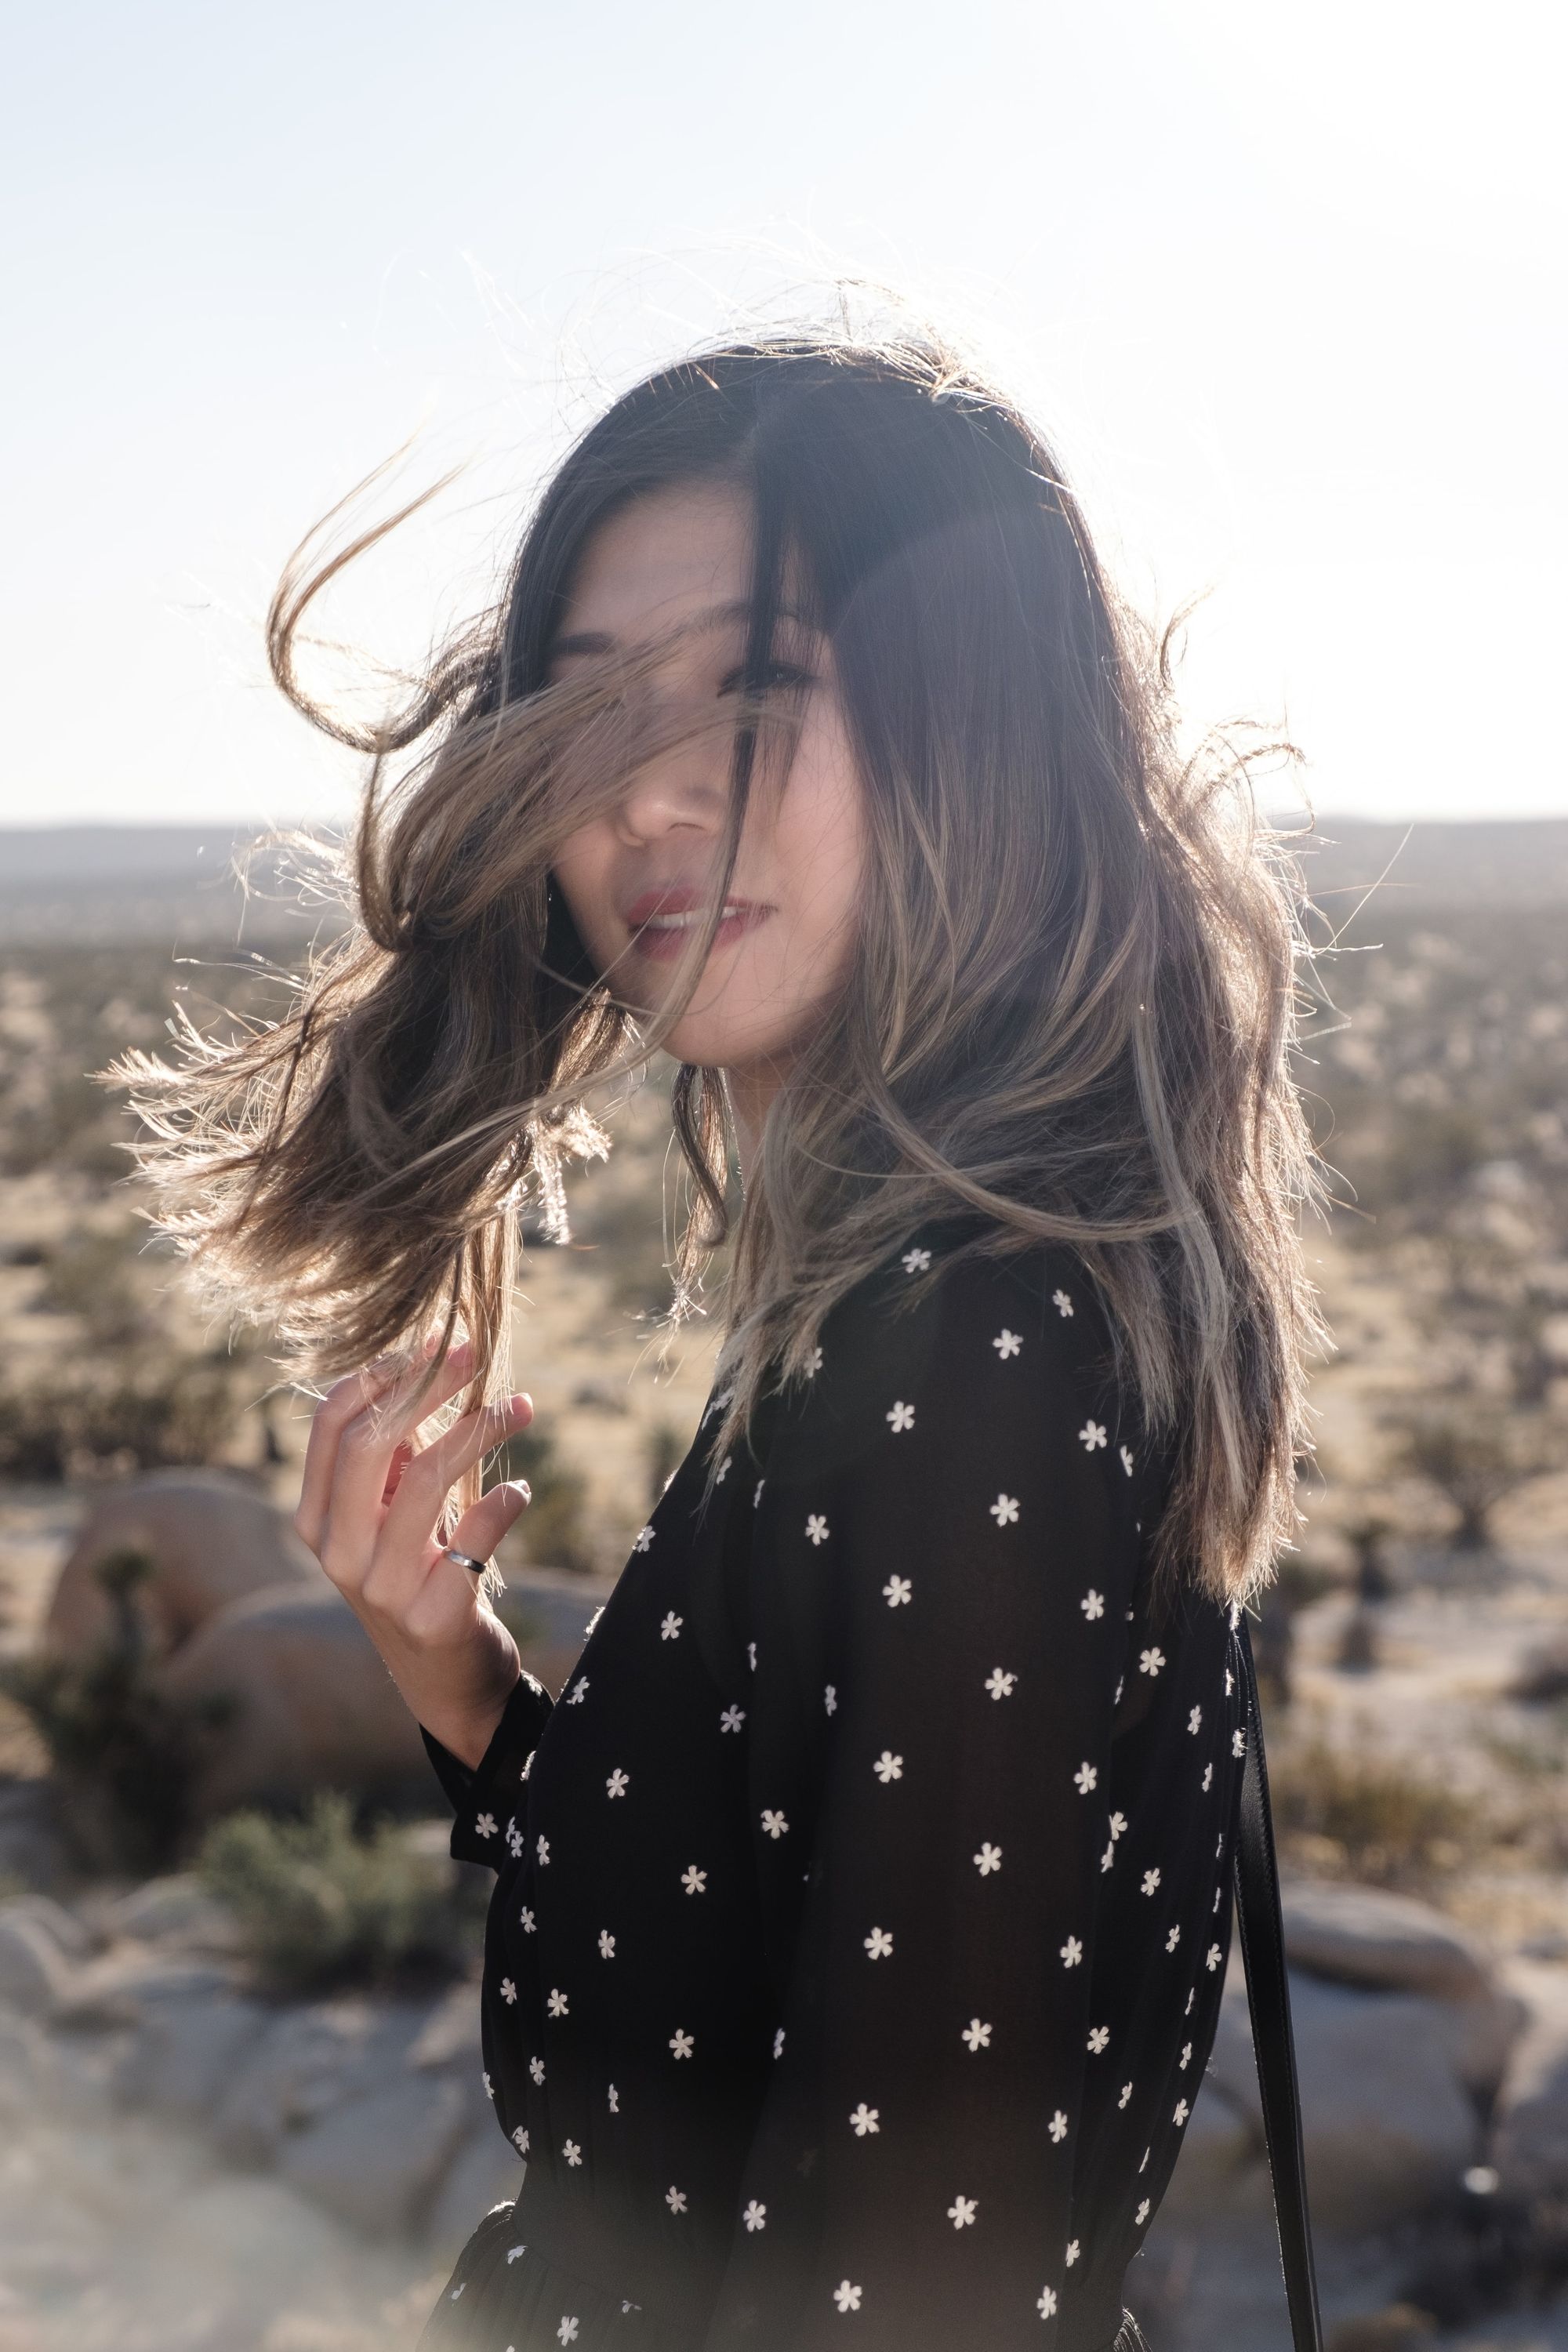
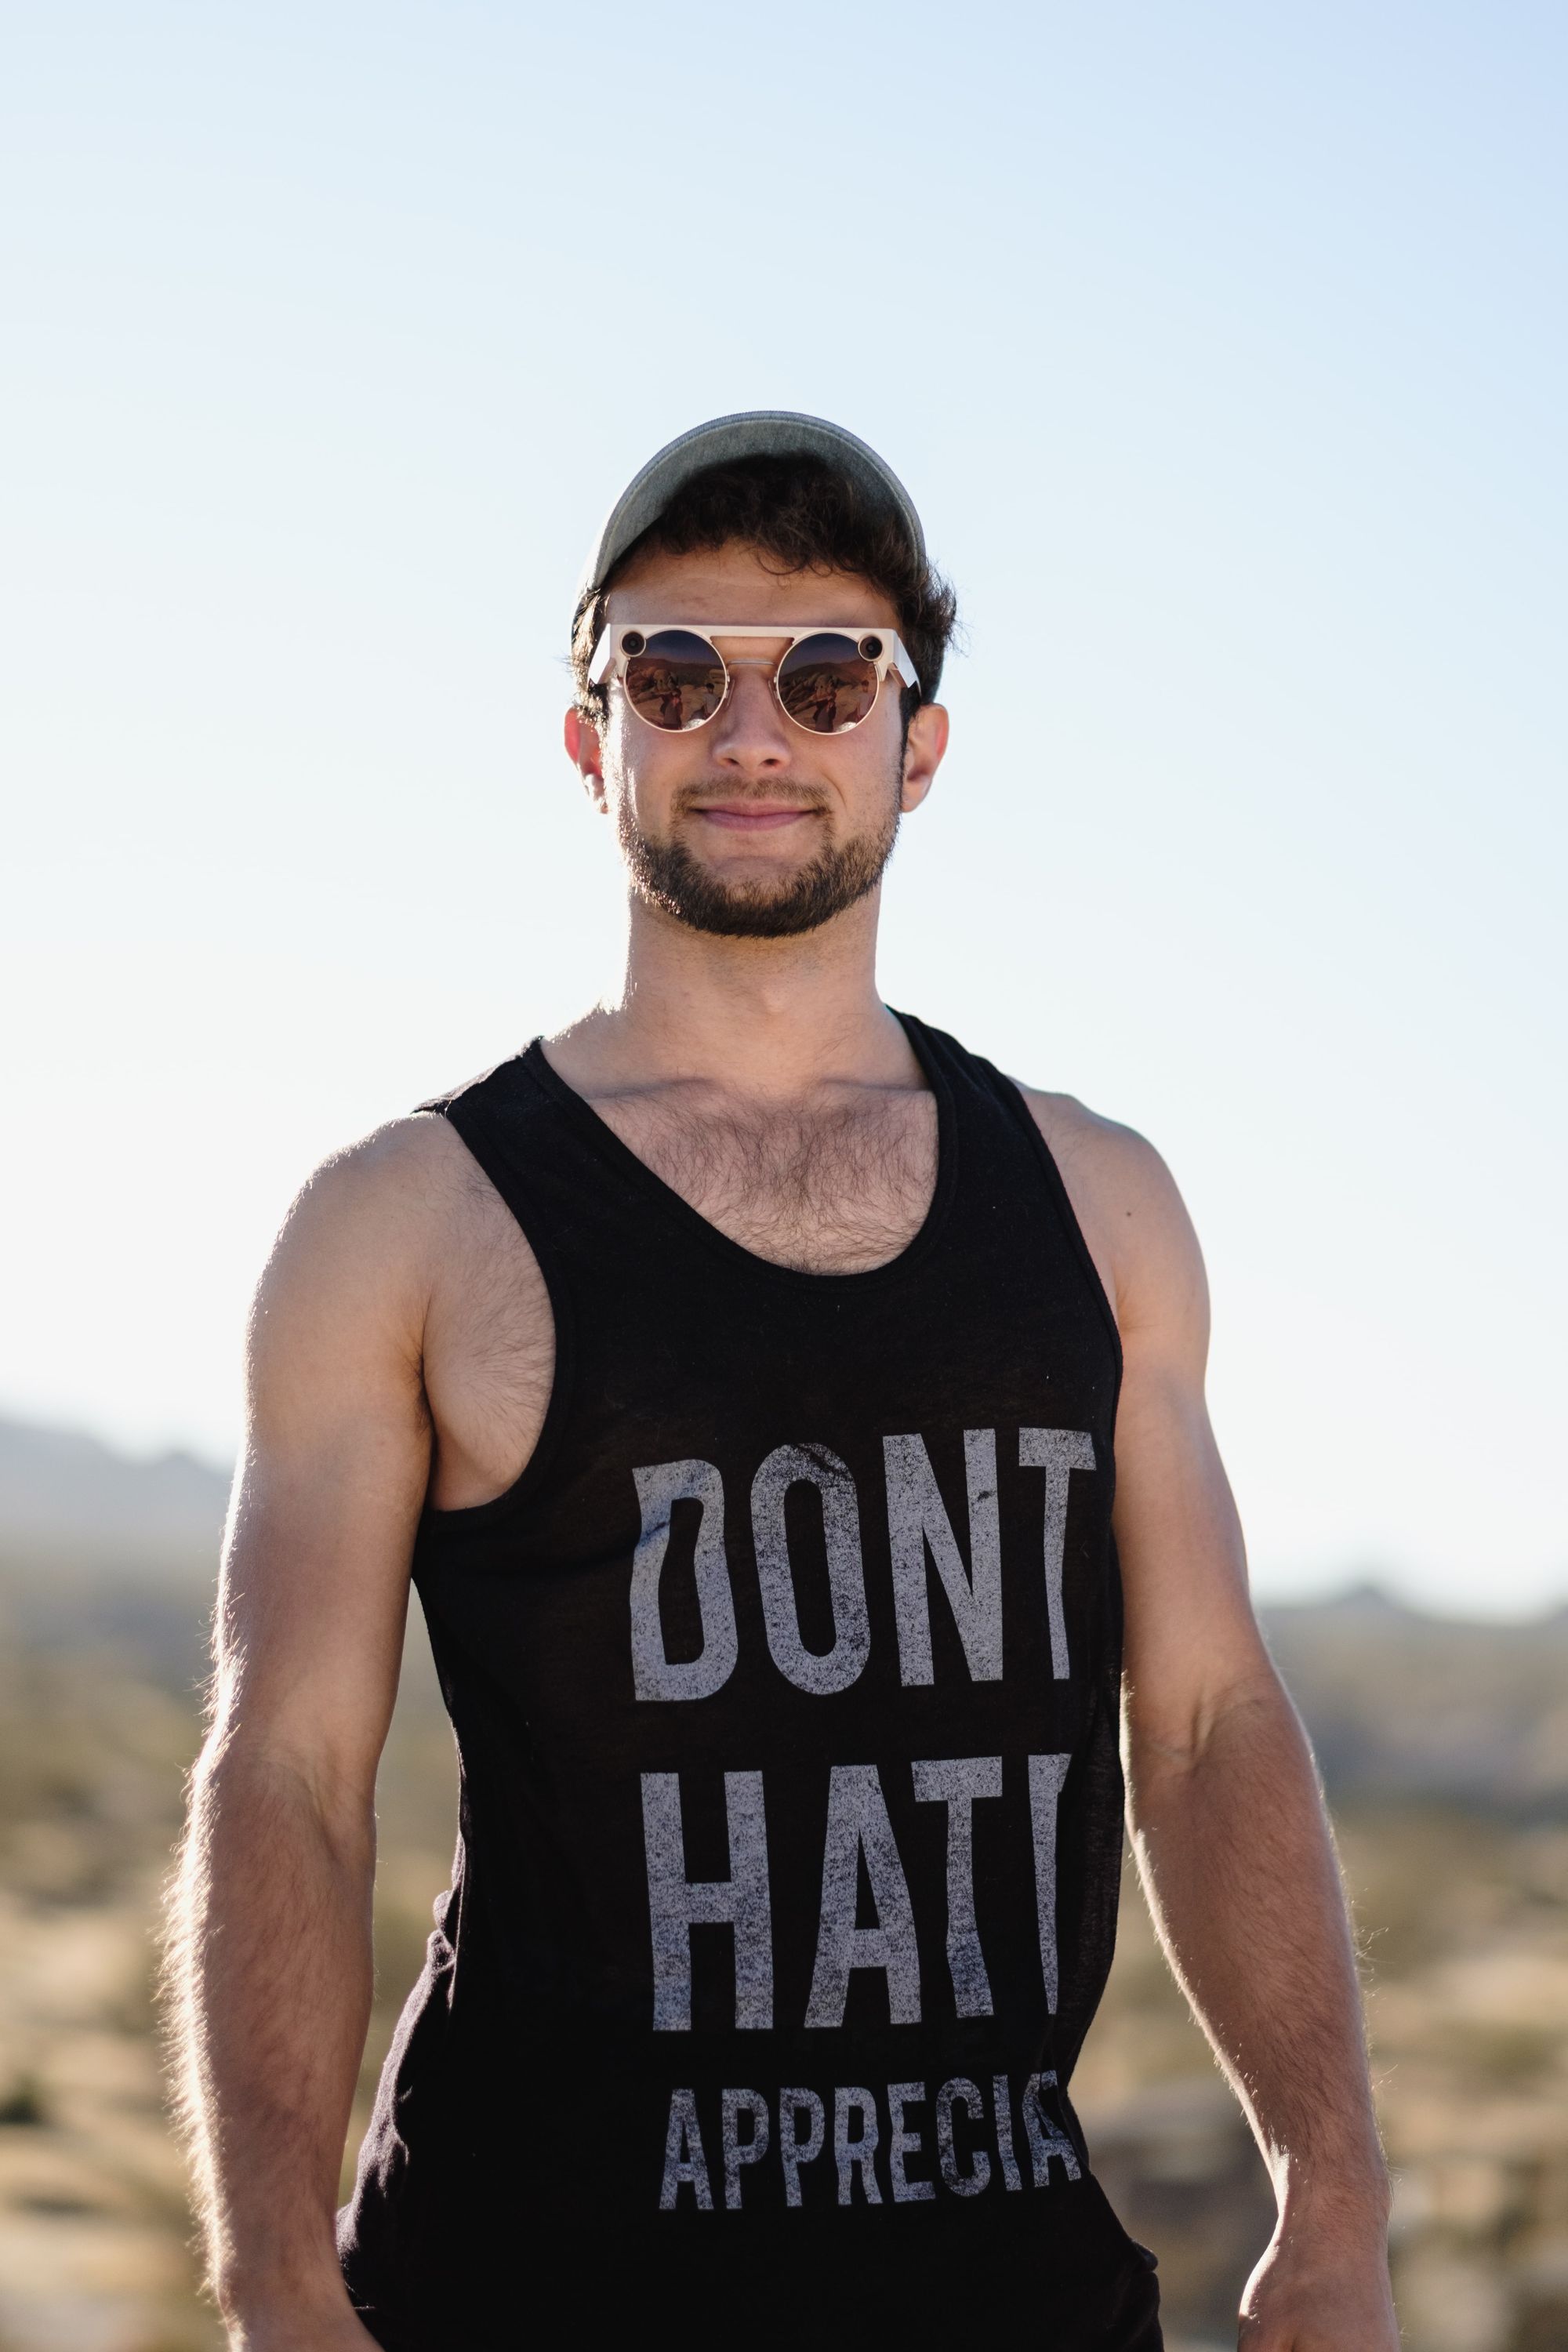
Studio lights can be expensive. When starting out, it's better to first experiment with nature's best free light - sunlight.
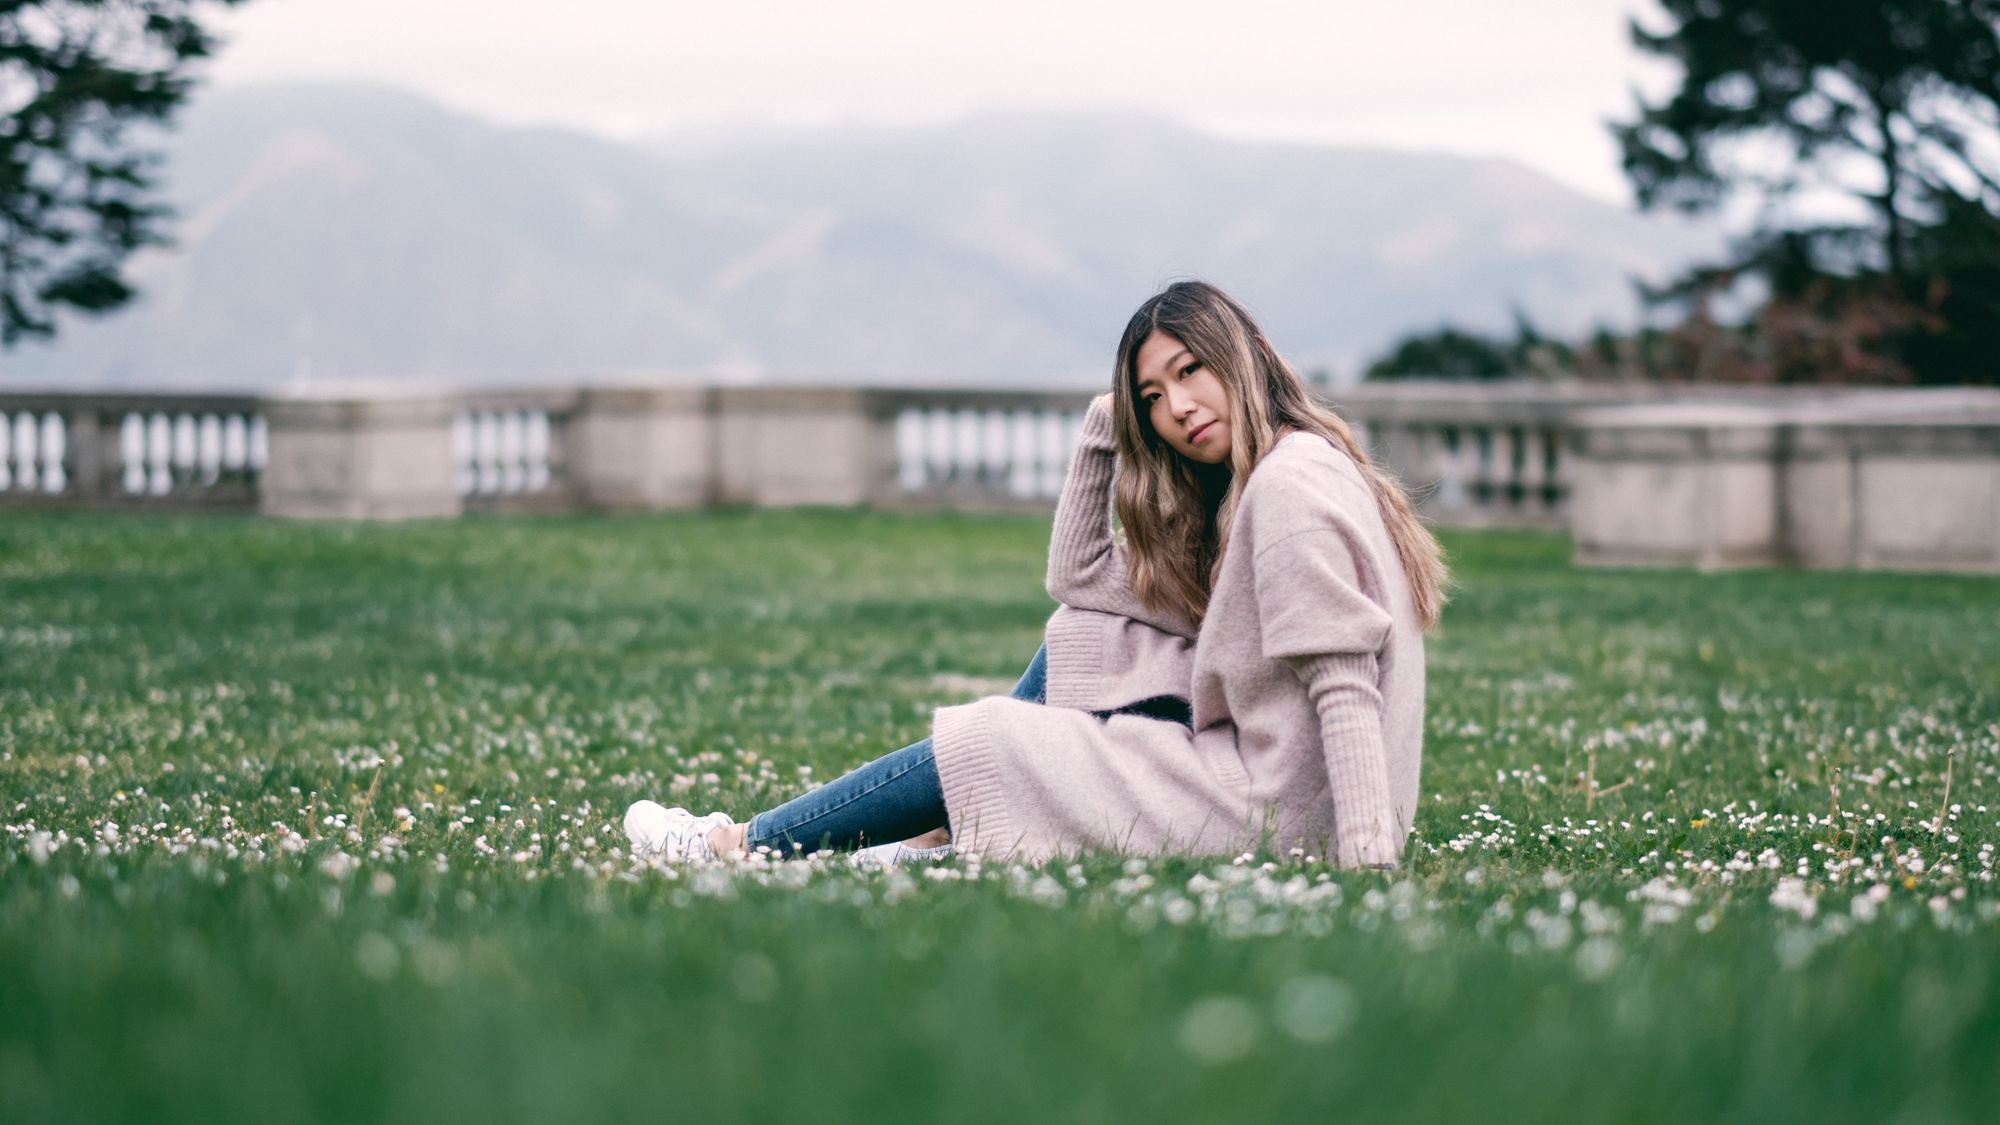
With a basic circular diffuser to soften the harsh sunlight, you basically have a single softbox setup. Now all you need to do is figure out the angle of which you need the light to be, then find out when the sun is that angle in the sky. If you wanted to reproduce lighting where the main light above the subject, shoot during high noon when the sun is at it's highest point. Similarly, if you wanted to reproduce Rembrandt lighting, shoot at times where the sun is around 45 degrees in the sky (occurs twice a day).

A window can also be used to achieve the same results. Back when there wasn't electricity, studios of the old master painters would consist of large windows with curtains or blinds. They would then close or open the curtains and blinds to let sunlight into the studio at the desired angle onto the subject. There also would often have a white curtain layer that acts as a diffuser, creating a natural softbox. I've always found it incredibly inspiring how previous masters were able to achieve so much with so little.
If large evenly diffused light is desired, you could plan your shoot in days with overcast. Clouds act as nature's giant softbox. Alternatively, you can shoot under shadows created by large fixtures (such as buildings), which would be easier to plan around. These types of lighting setup are super useful for product photography when you need even light with minimal shadow.
I hope this post helps demystify and remove all the extra noise around lighting! I encourage you to be more mindful and intentional with lighting in your photos, I believe it'll greatly improve your photography. Let me know if this is helpful!
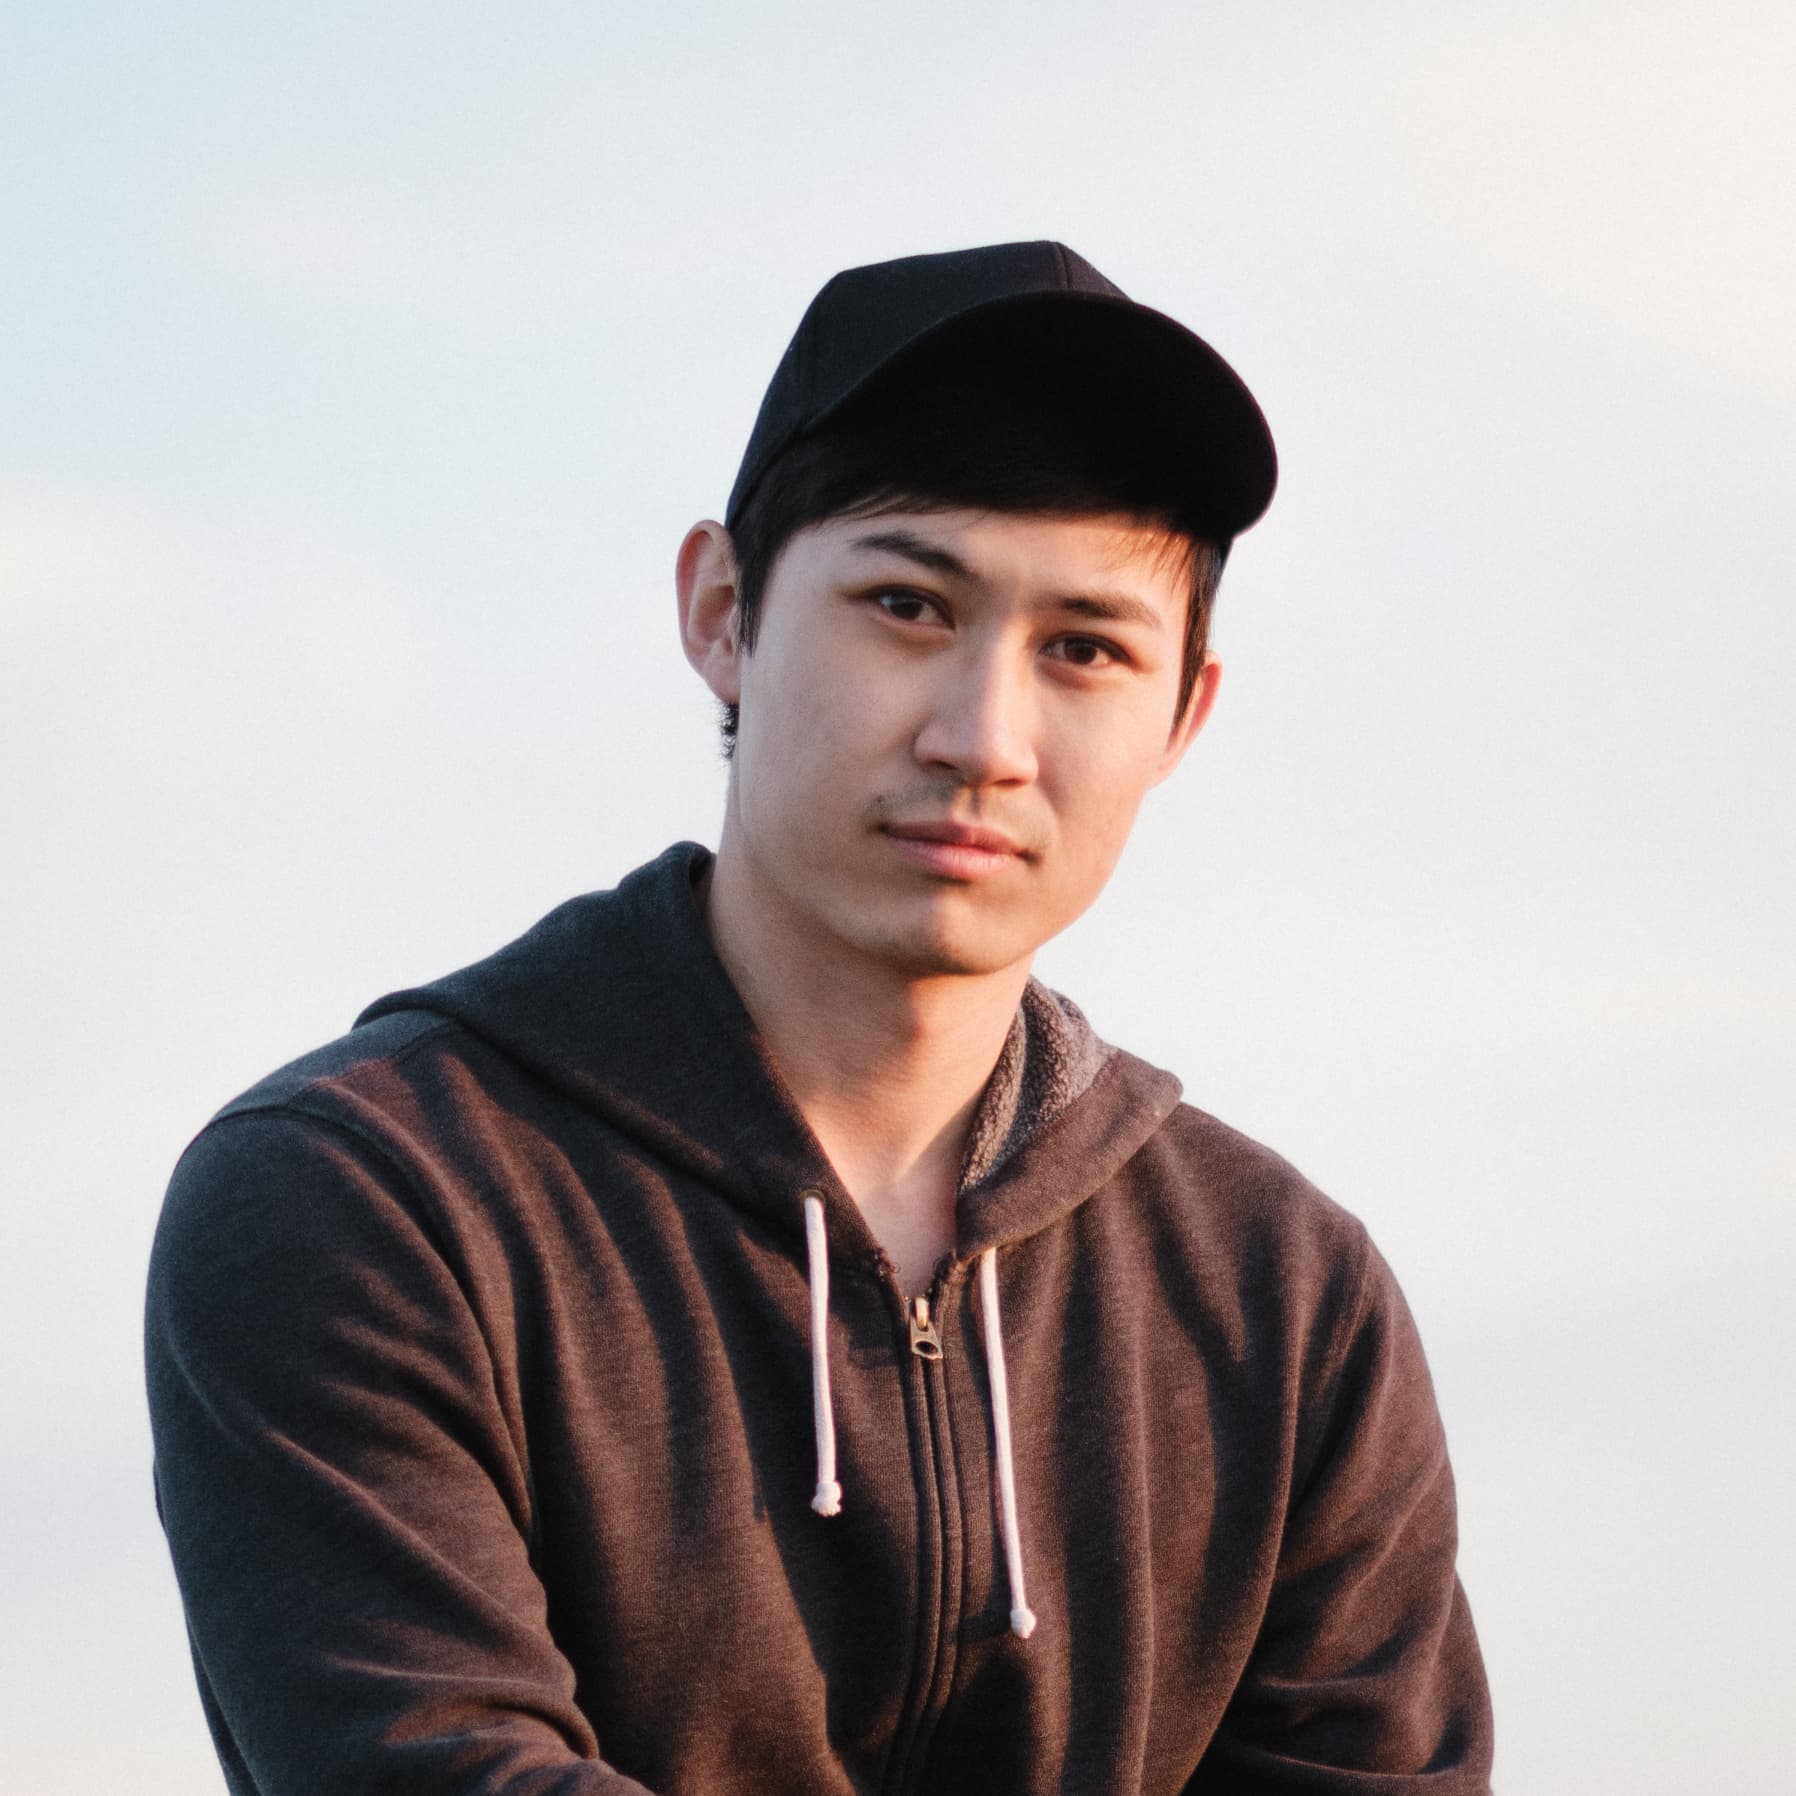
Also, shoutouts to all my friends who are wonderful models and chefs:
Eileen Xing: @wrongcookiie
Richard Lee: @richleeeeee
Brandon Huang: @brndn.hng
Shaheen Moubedi: @mynameshaheen
Matthew Tse: @itsmatthewtyo


